Sign Up with Epic Games
Plasticity 3D: Transforming Unusable CAD Data into Portfolio Assets!

in Tutorials
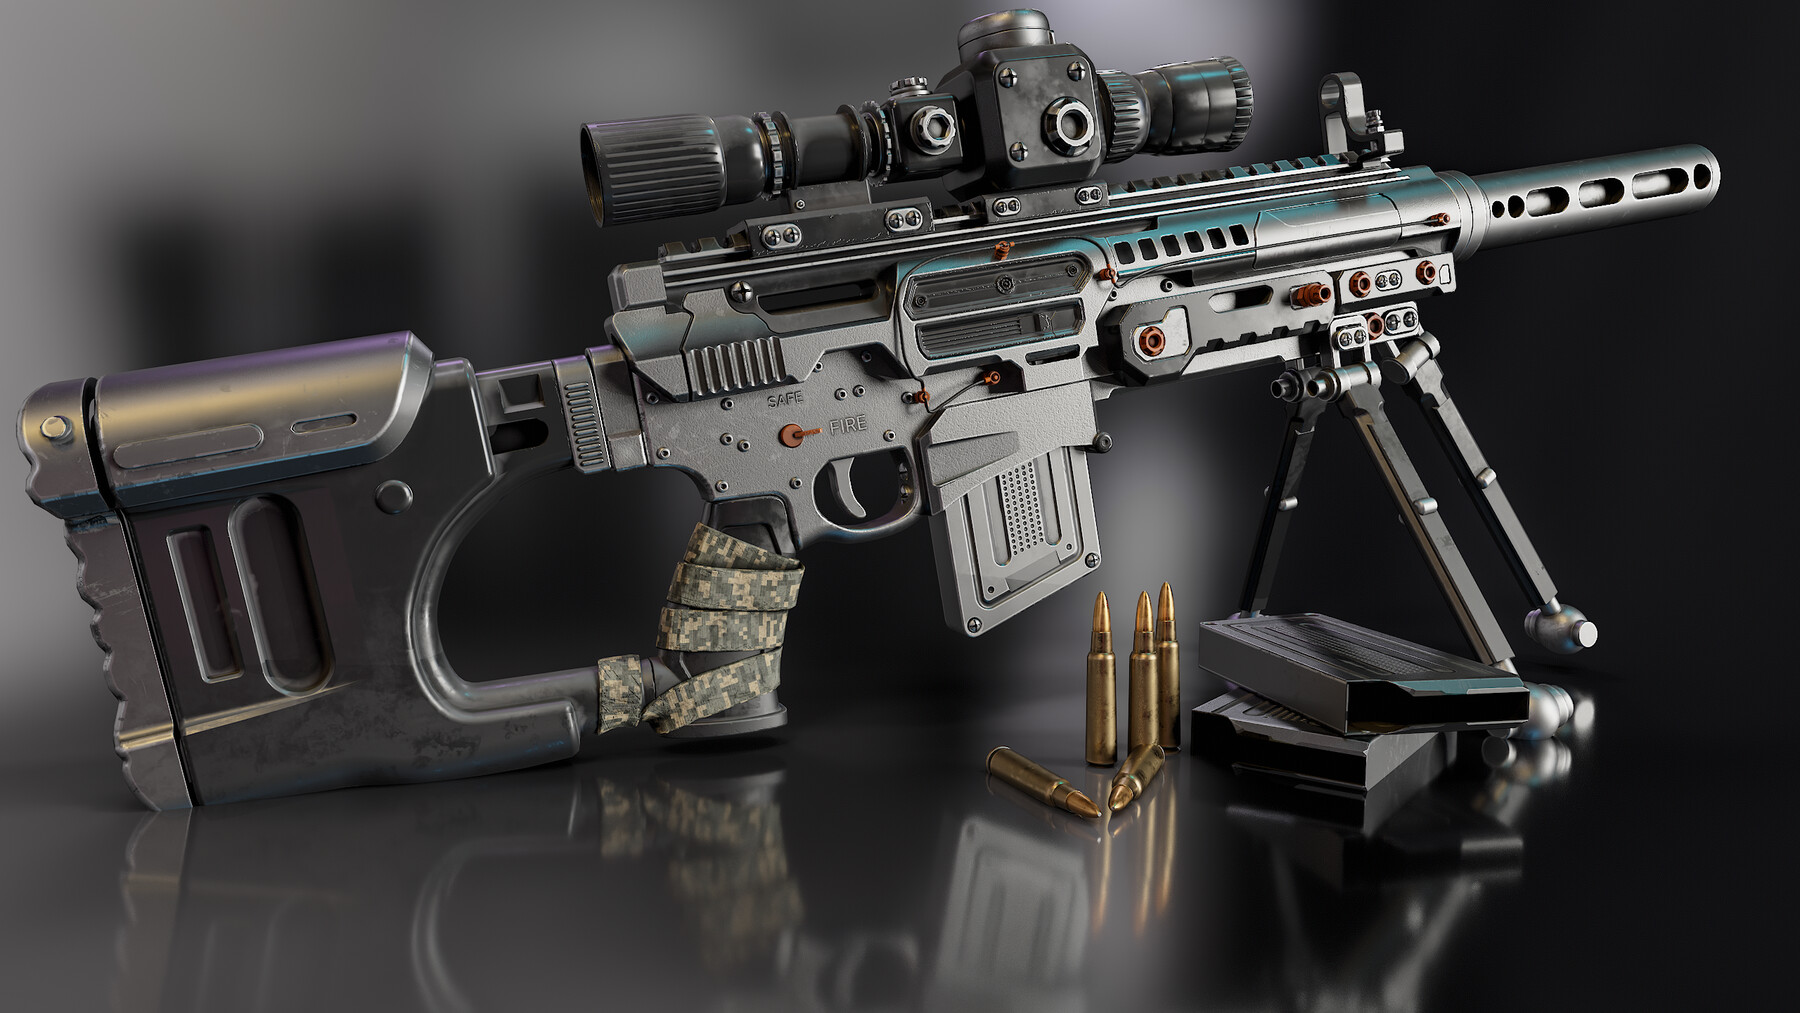
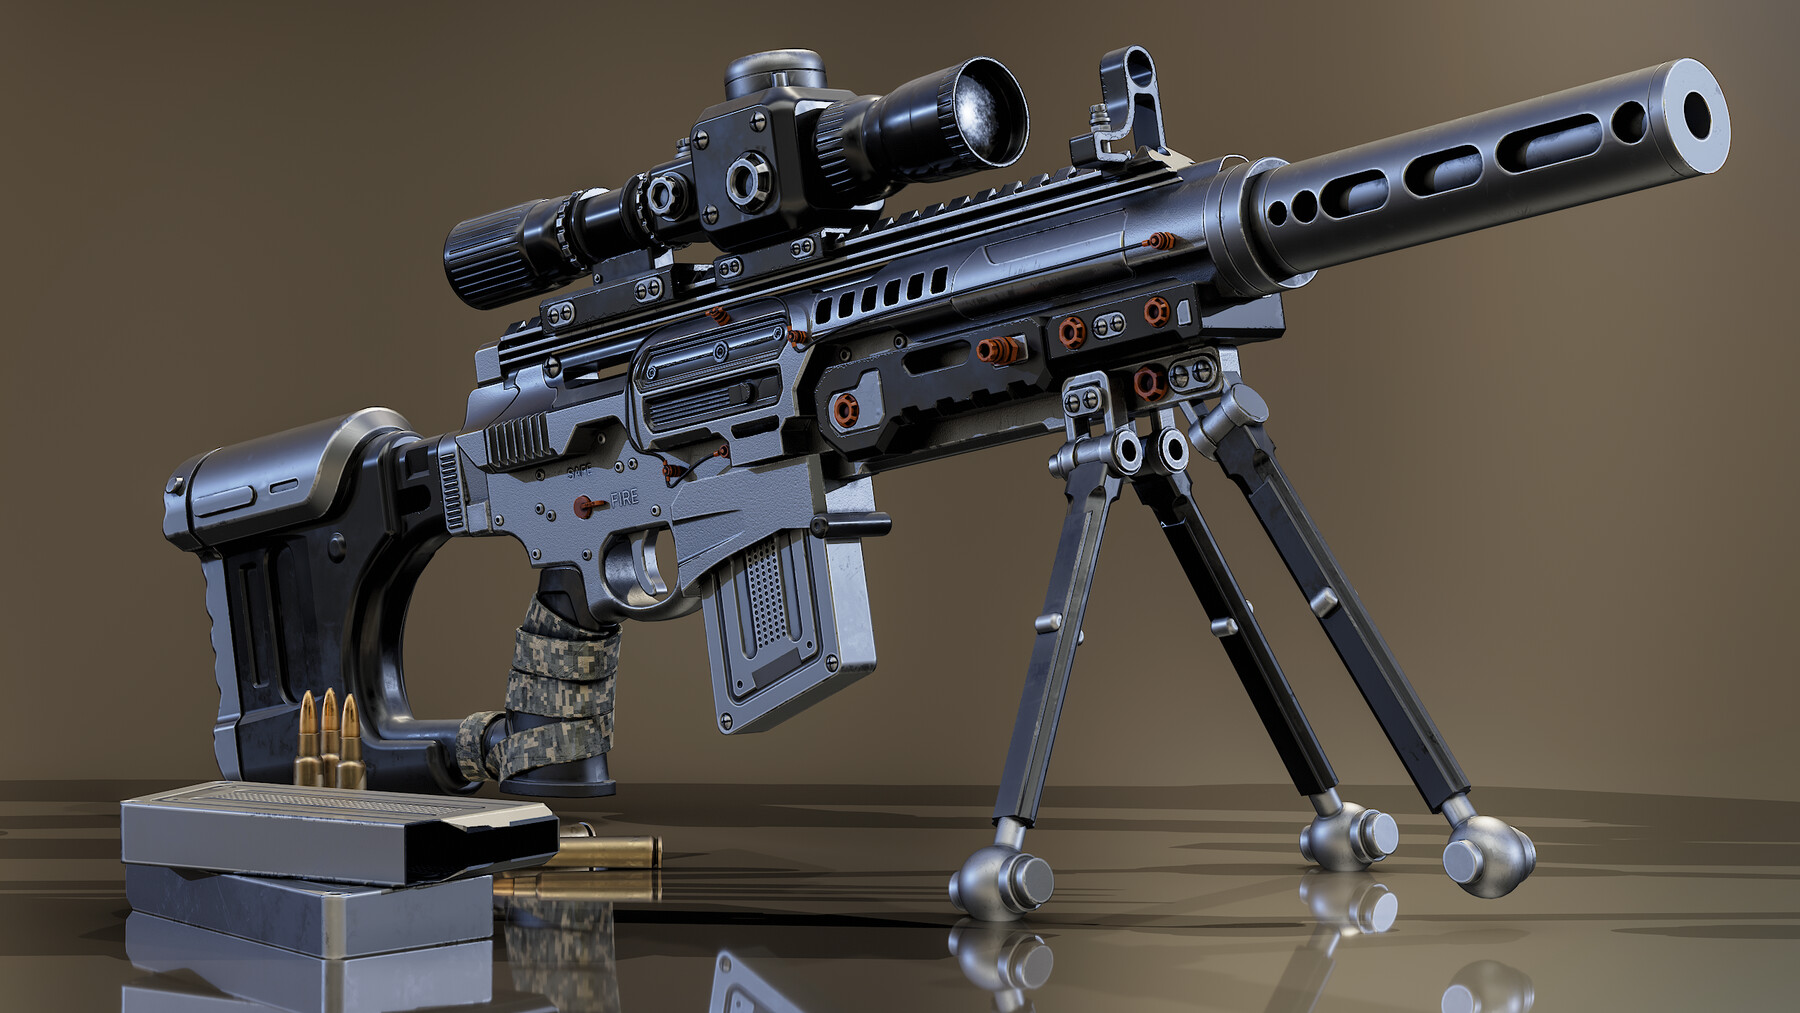
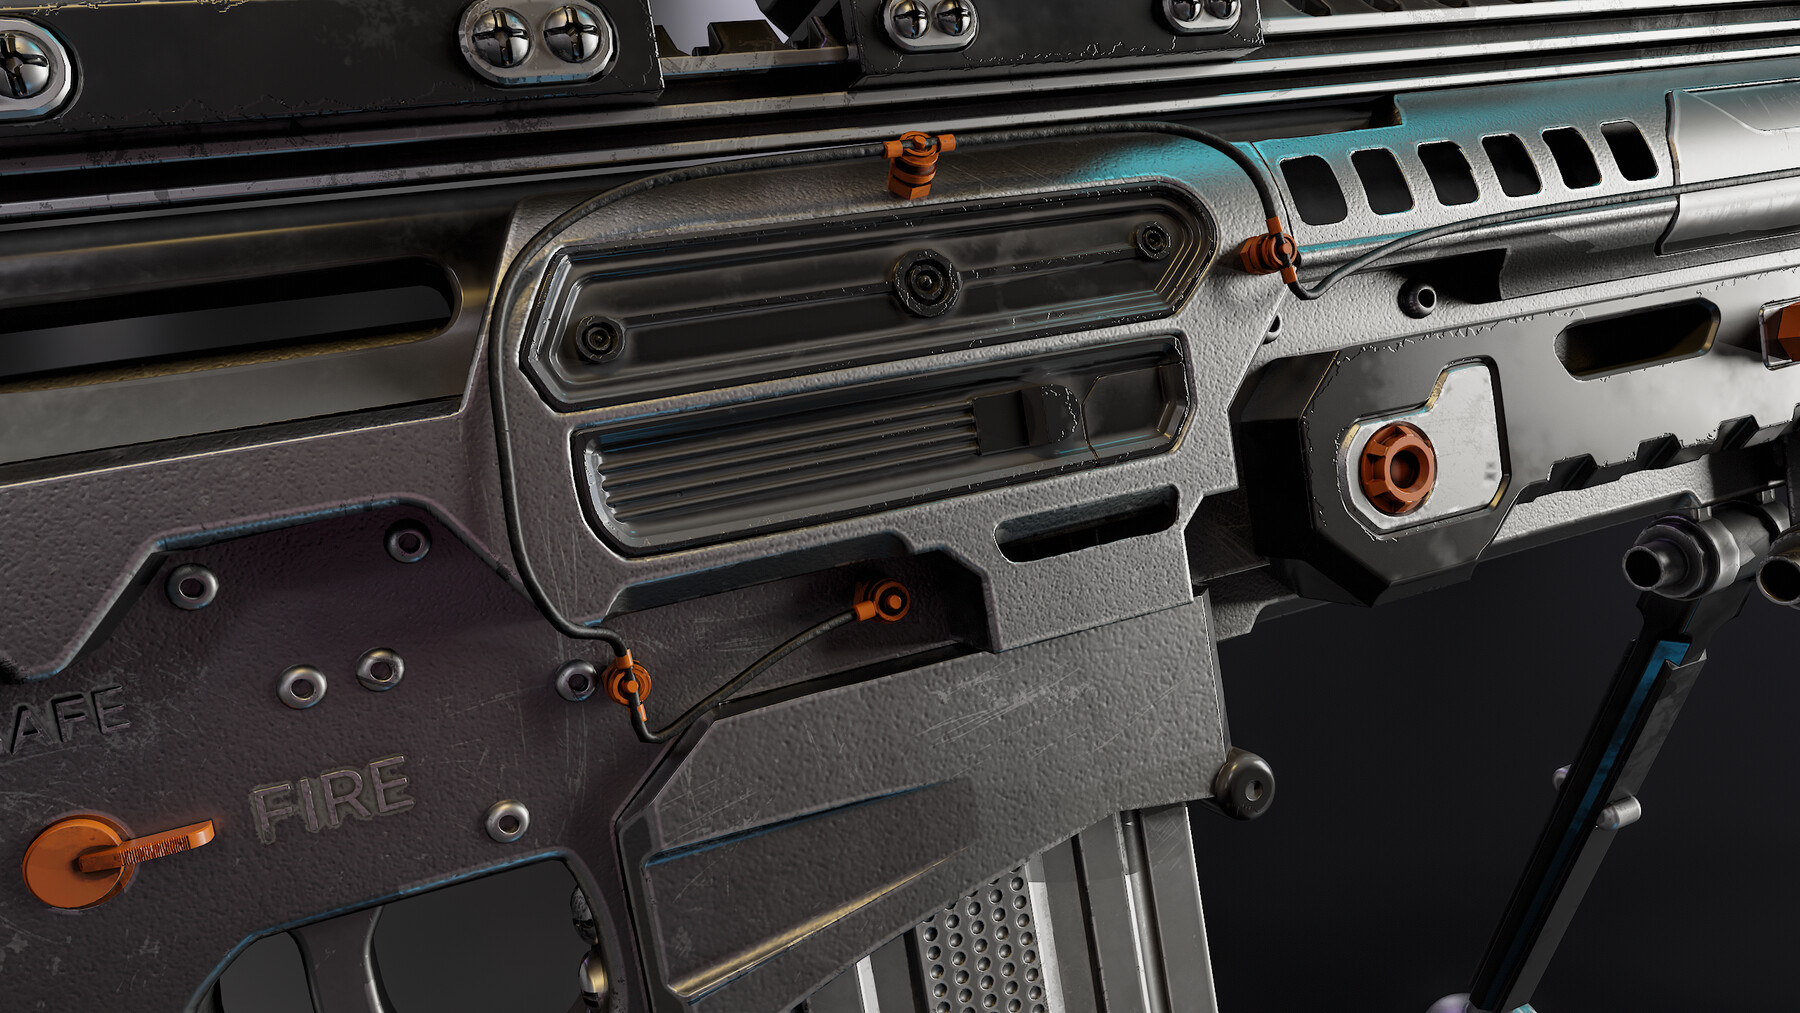
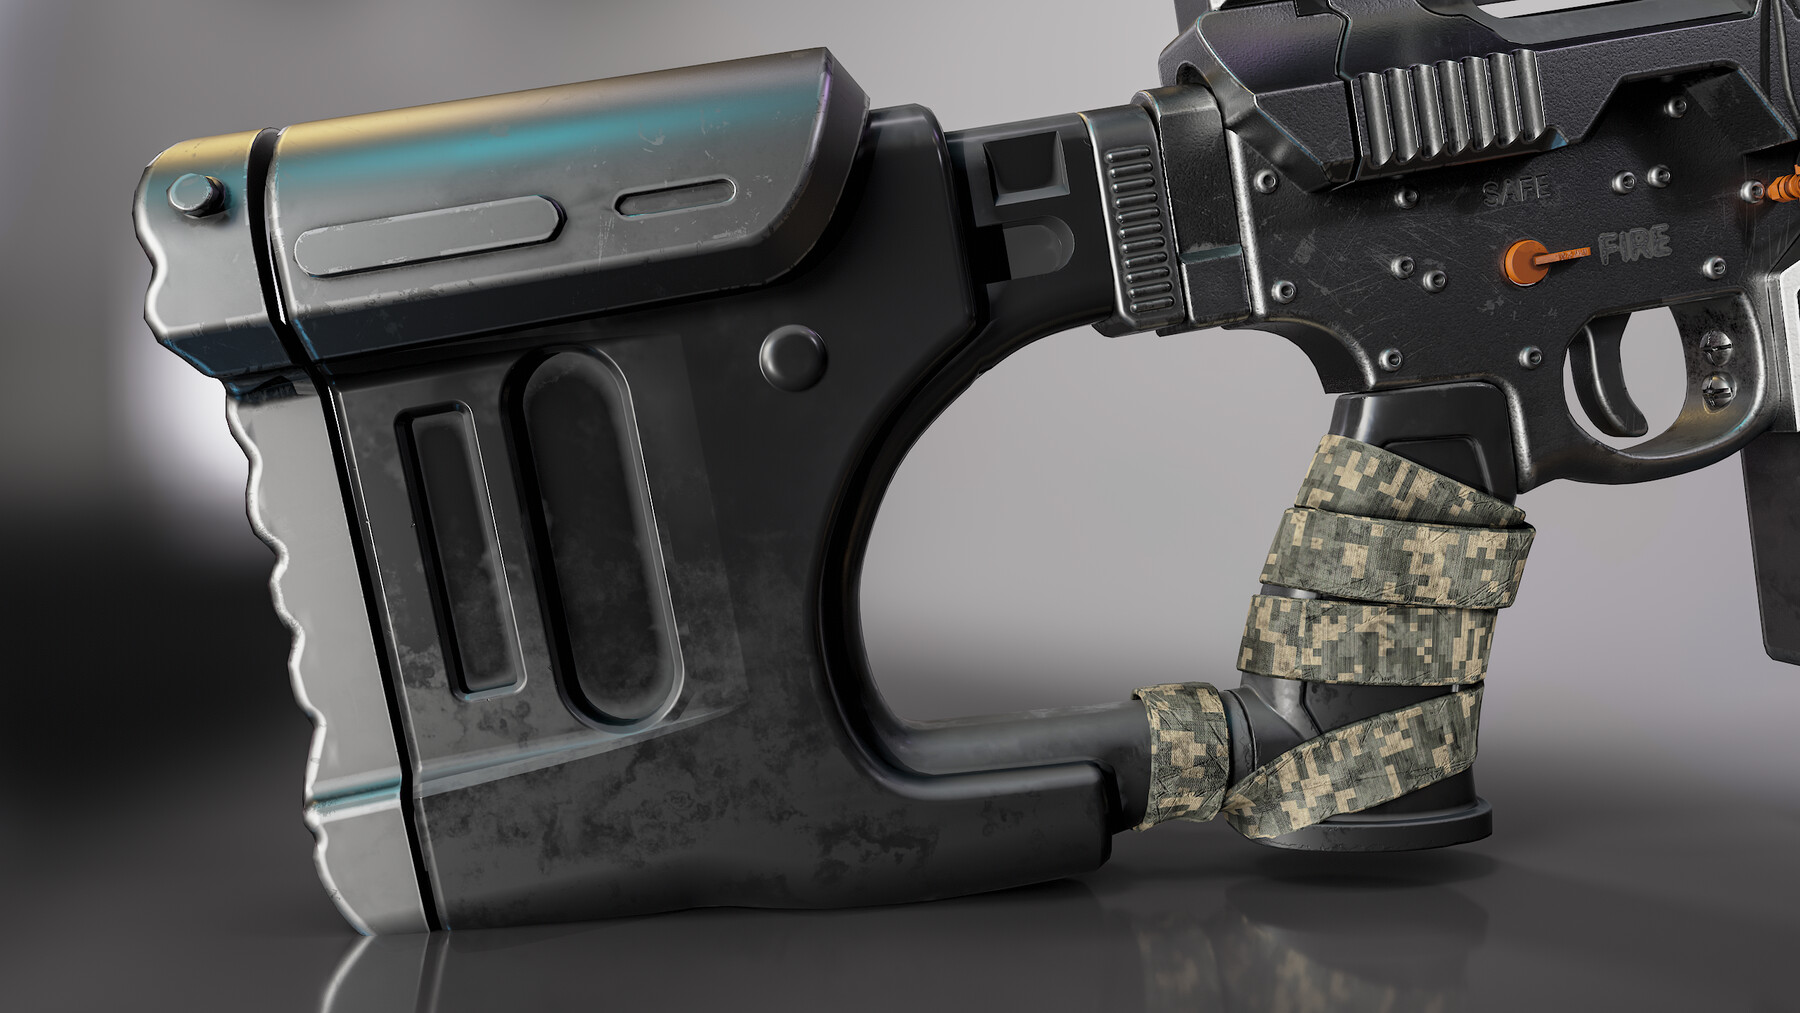
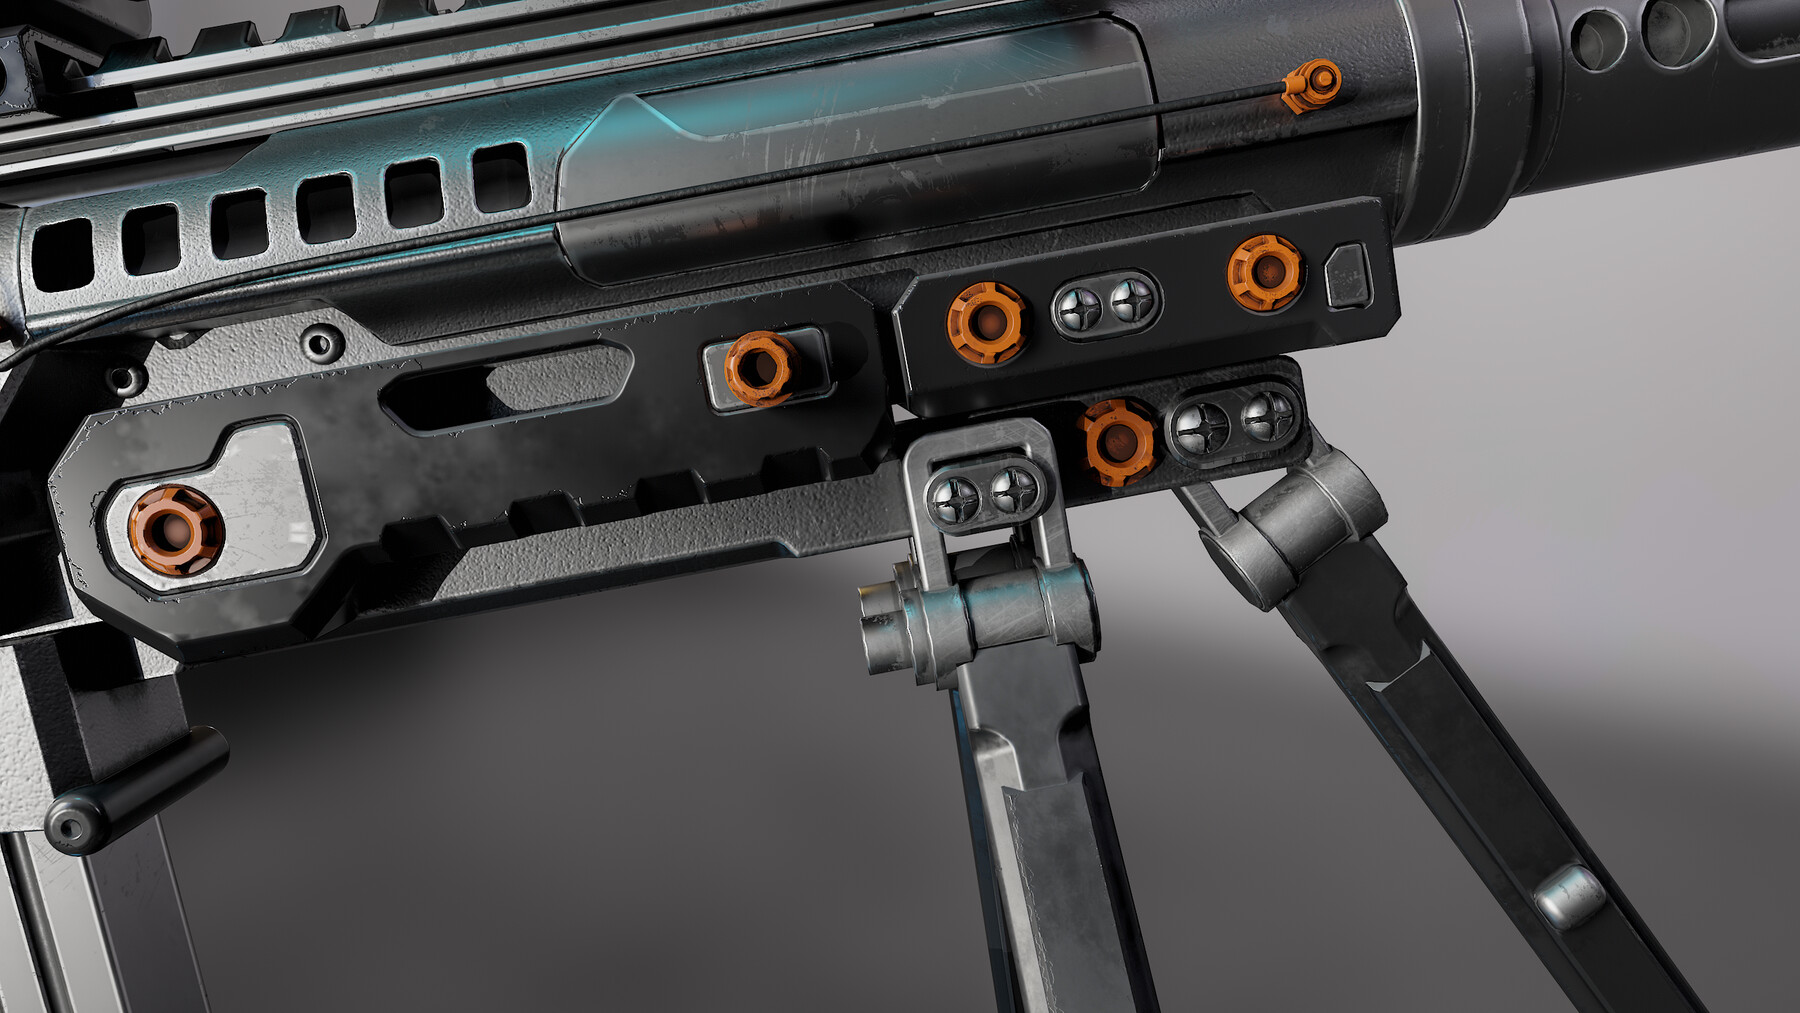
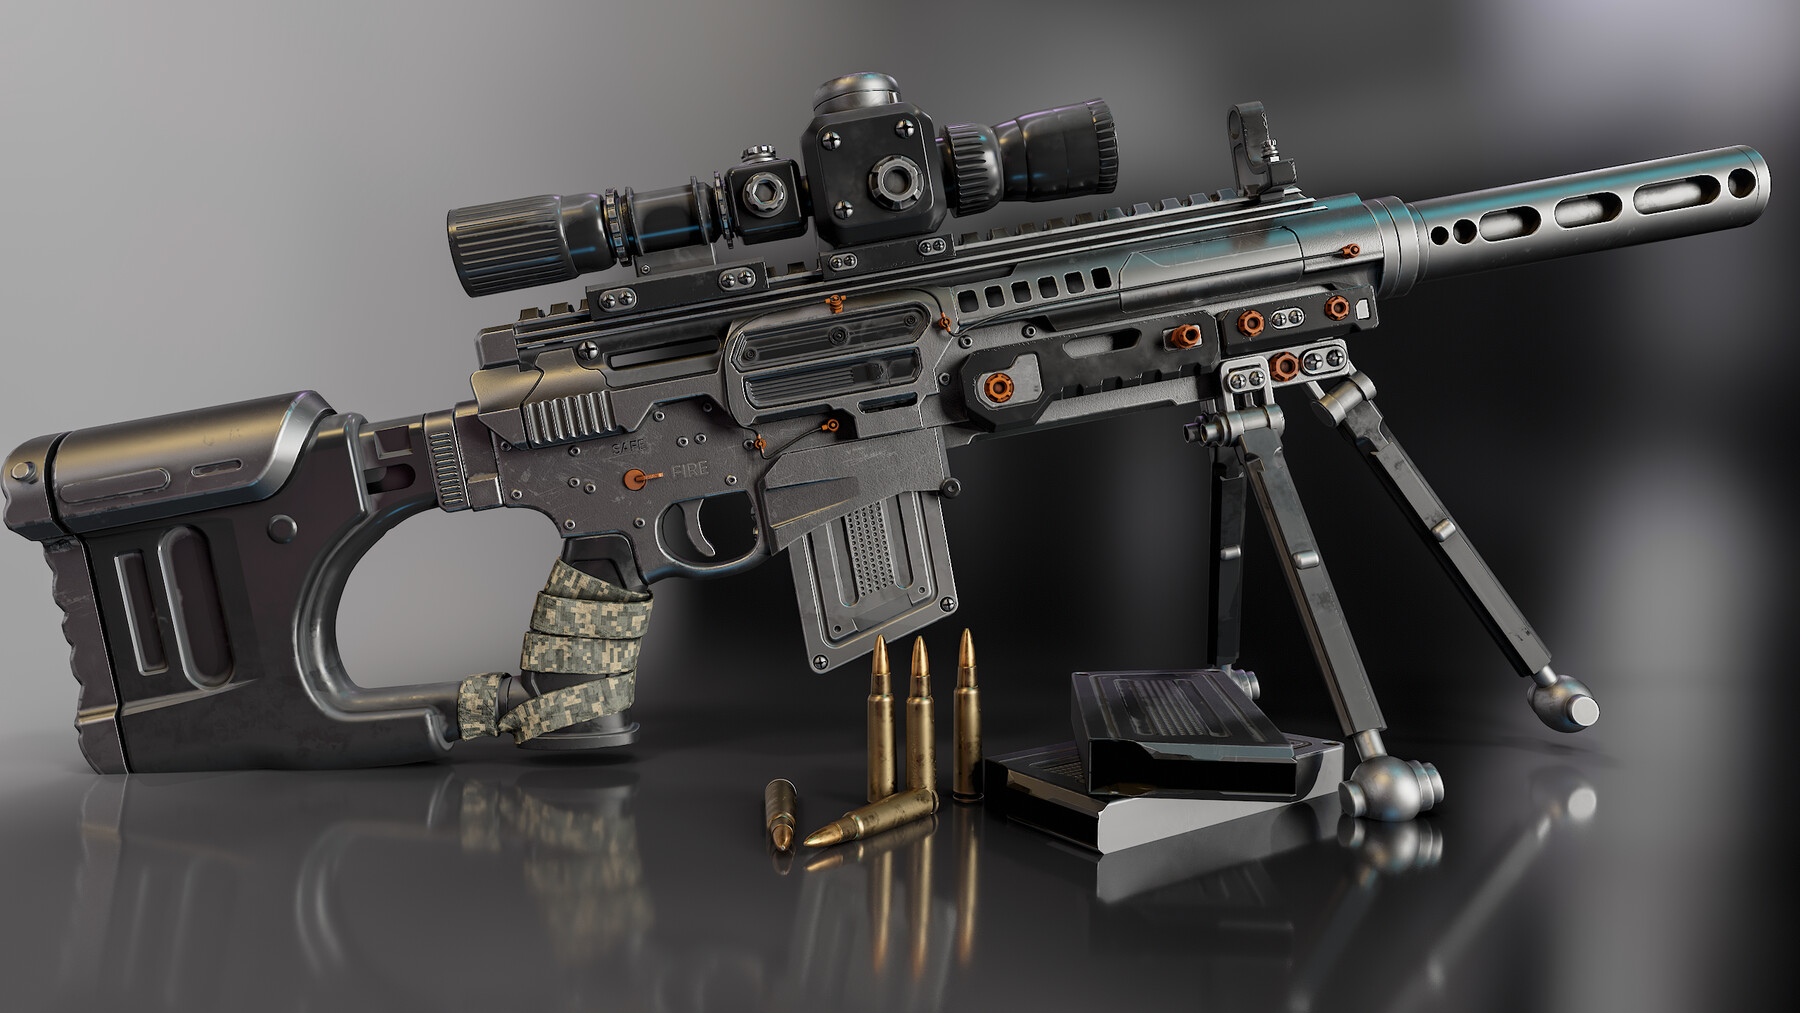
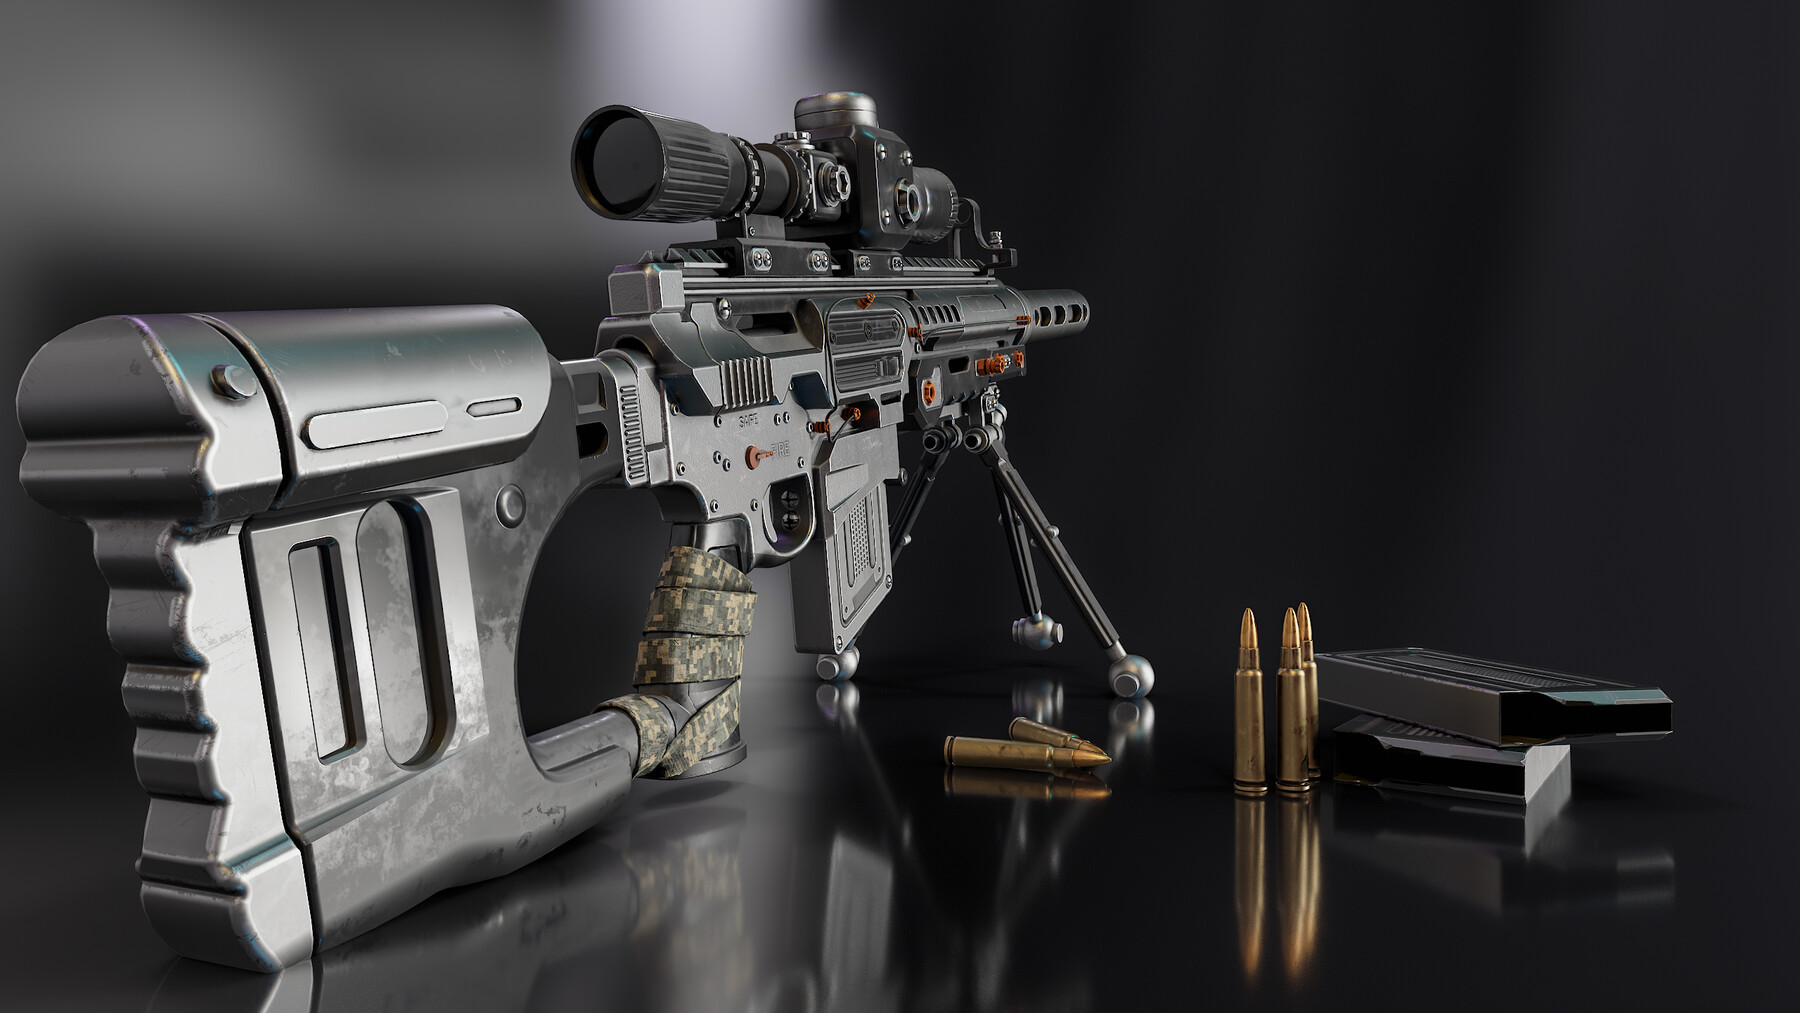
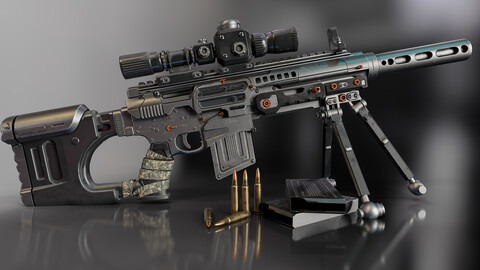
**From CAD to Portfolio asset**
Turning CAD data or scan data into game assets is the future of game development!
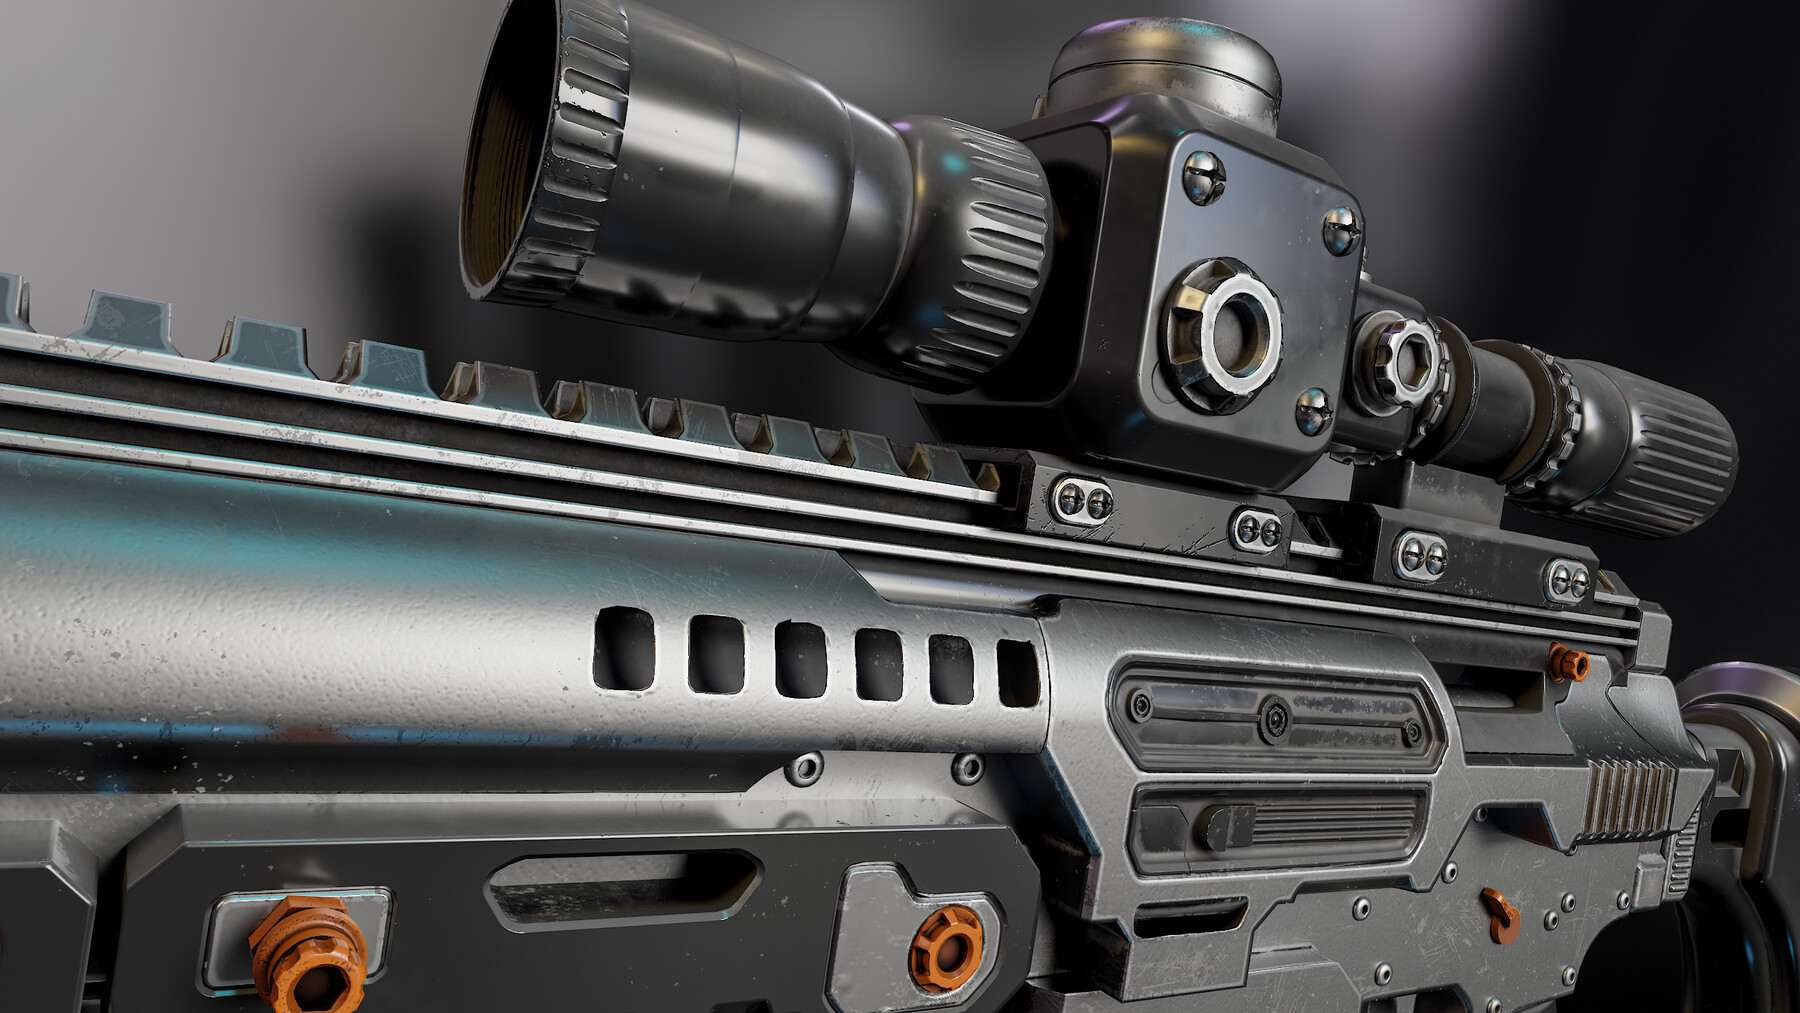
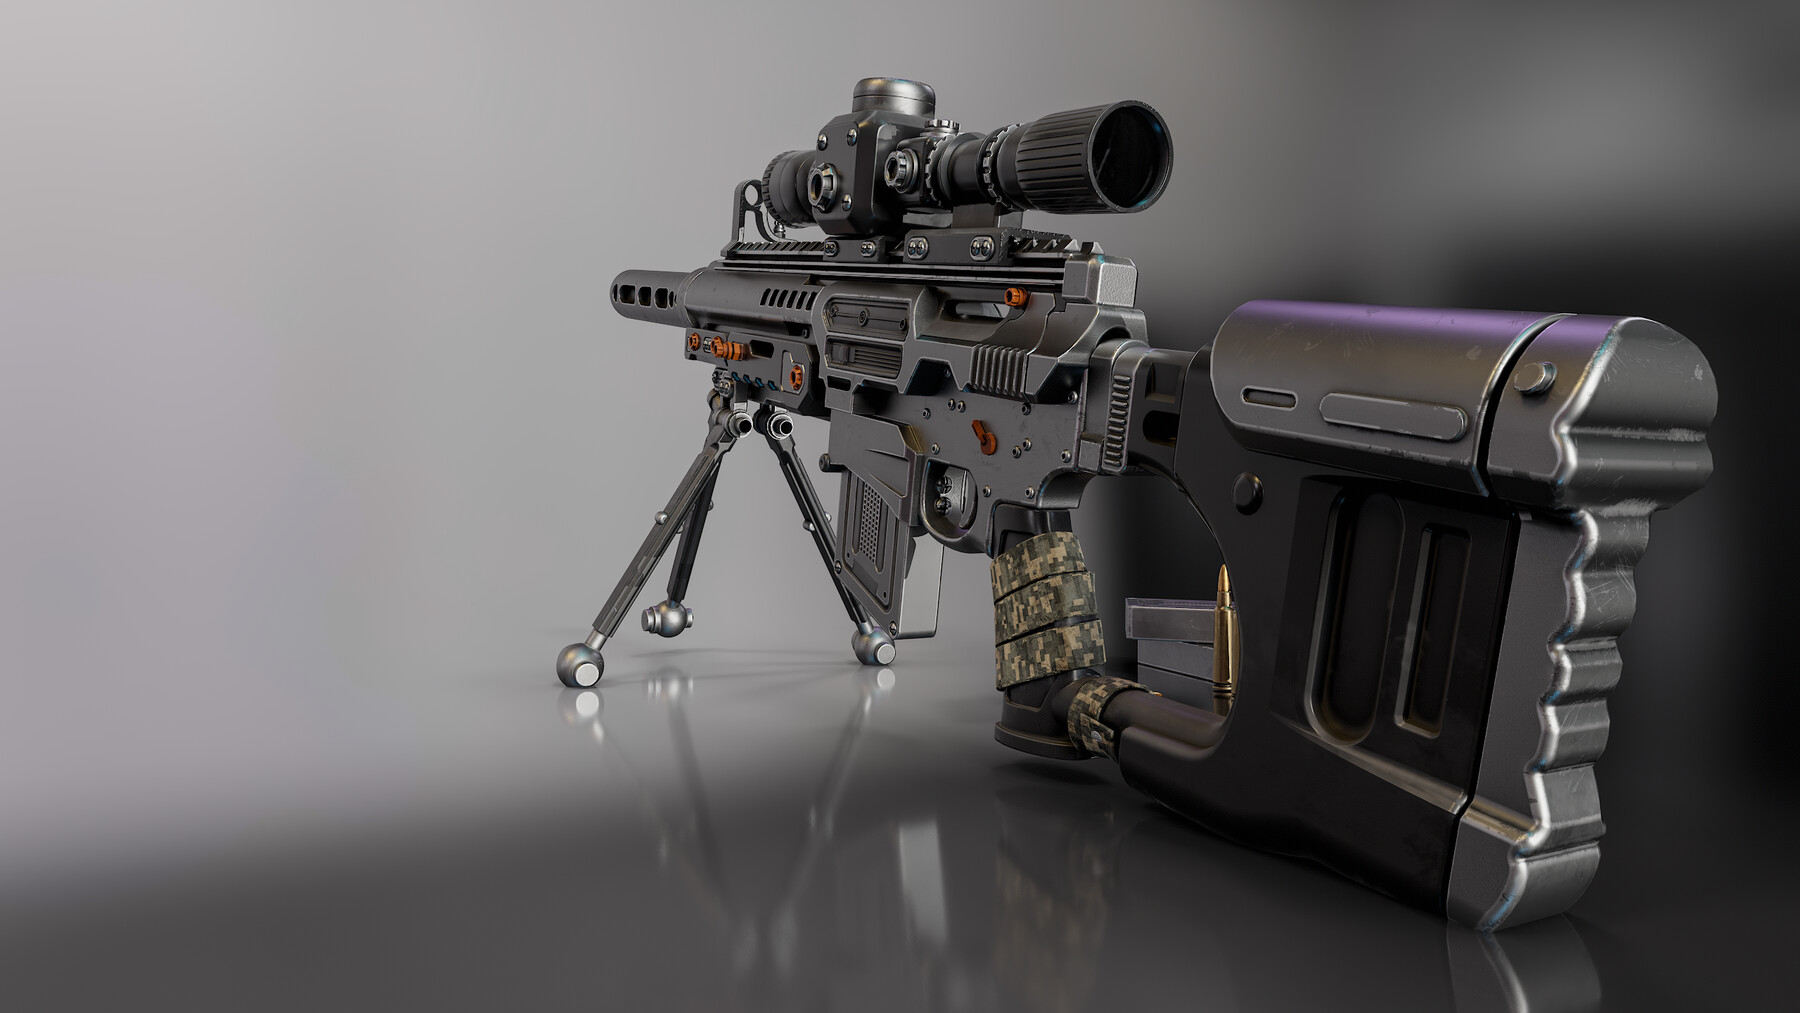
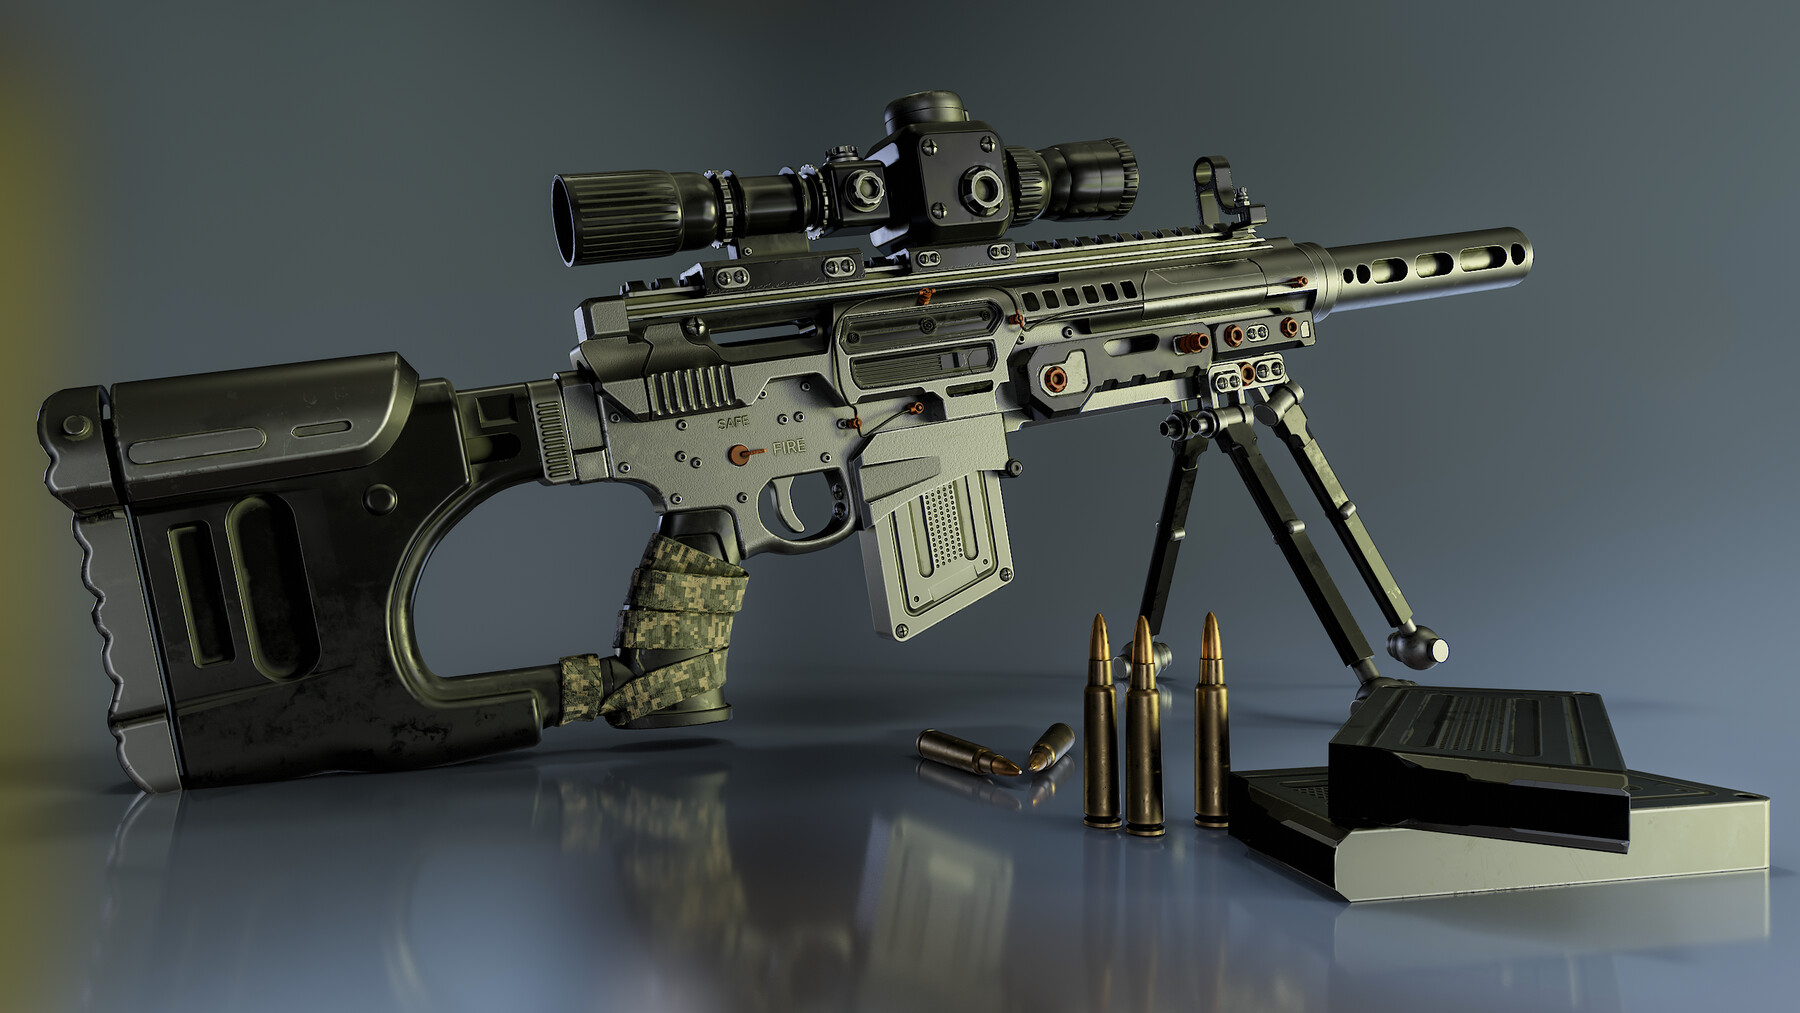
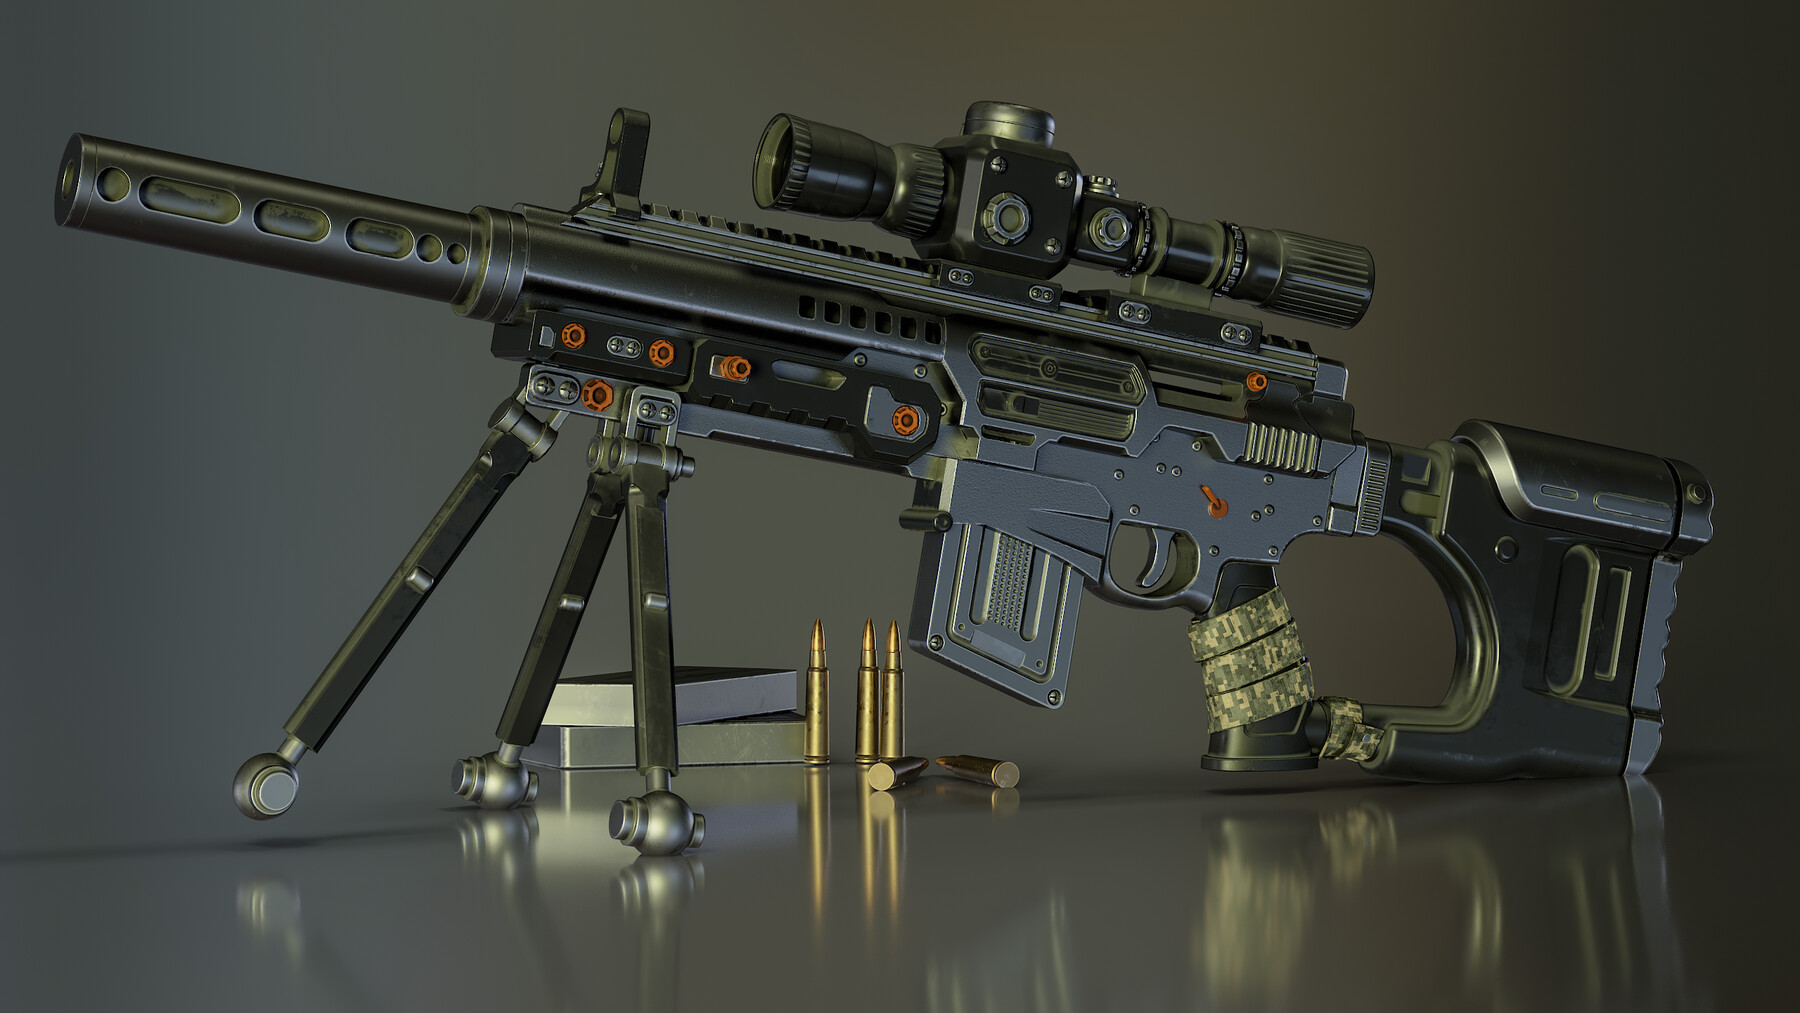
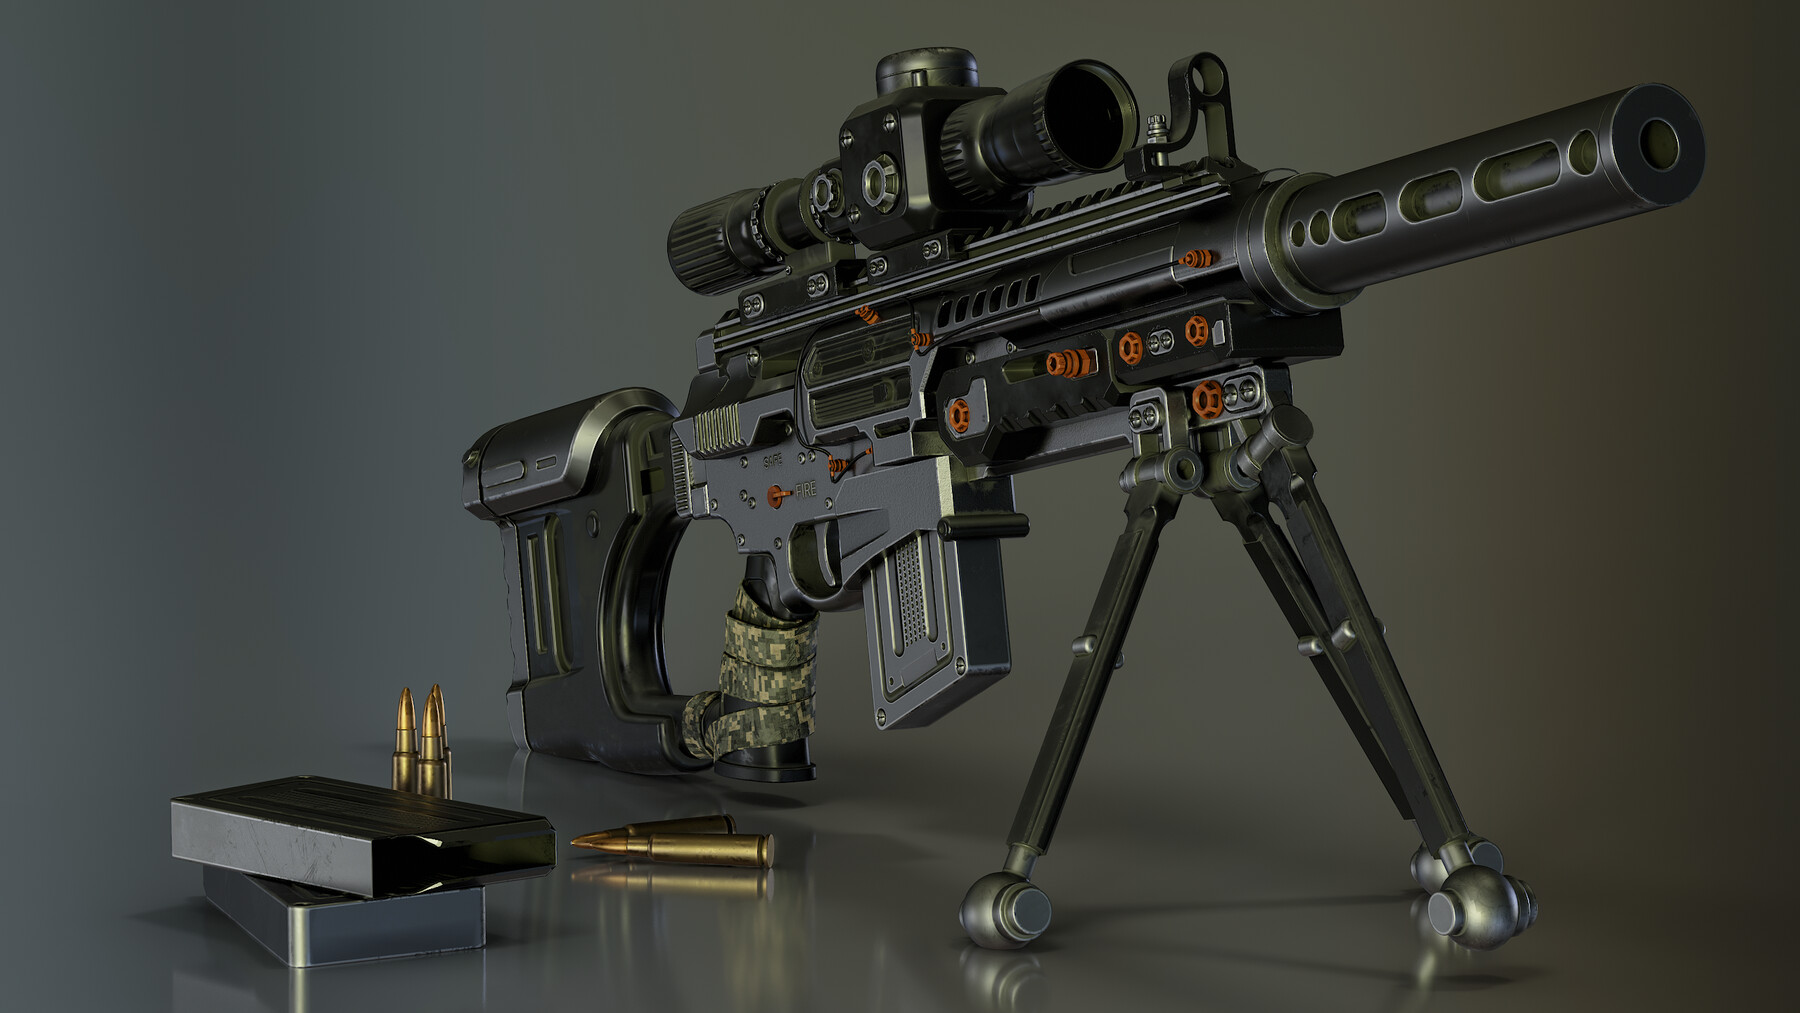
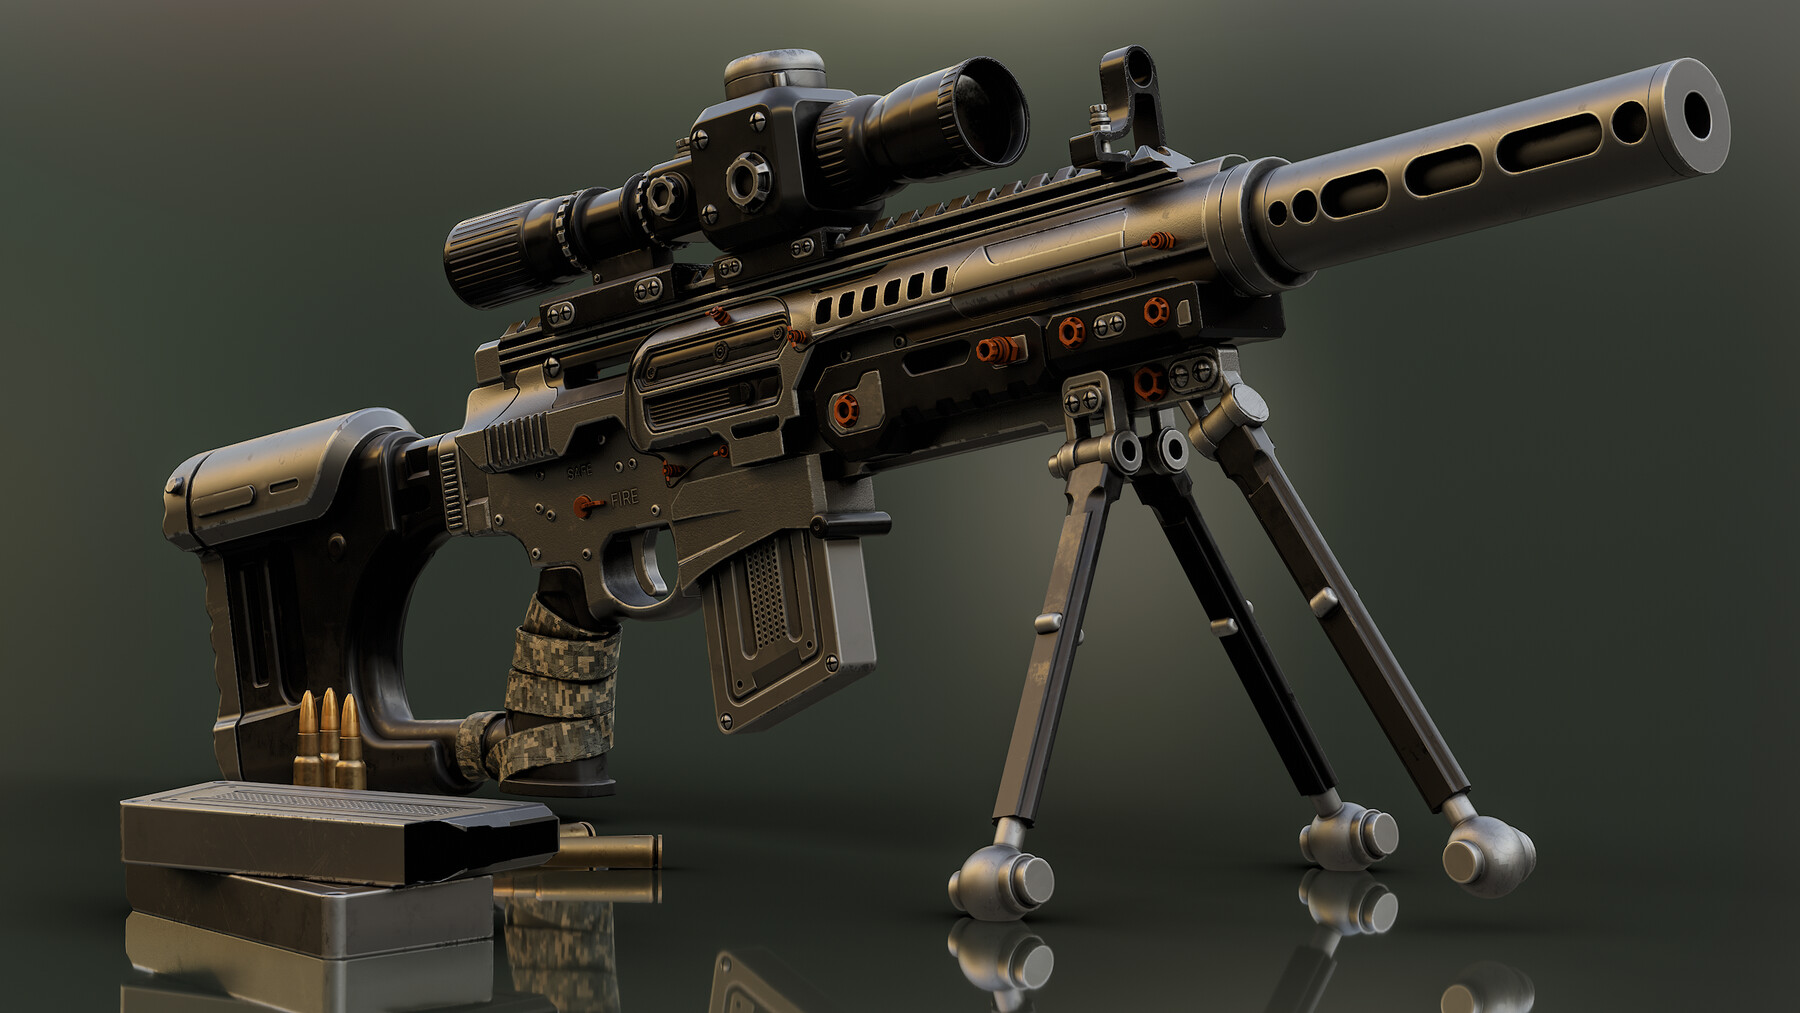
Welcome to a course that dives deep into the CAD to portfolio 3D model workflow—without the hassle of high-res meshes or sub-D meshes! Here, you’ll master every essential step to transform unusable CAD data into an optimized, fully textured mesh, perfect for showcasing in your portfolio. We’ll be practicing, modeling, and optimizing a truly unique piece: a high-tech silenced sniper rifle.
Why is this weapon "unique"? After scouring the internet for days in search of an original design, I was disheartened to find that everything had already been created by other 3D artists. So, I turned to an AI image generator to craft a one-of-a-kind image of a high-tech, mid-sci-fi silenced sniper rifle. From there, I created the blueprints in Photoshop—because let’s be real, AI isn’t always perfect!
I’m confident that my rifle is indeed "unique." I set out to create something that’s never been seen before.
**Target Audience:** Intermediate.
Differences in Workflow: "CAD to Portfolio" vs. "AAA Workflow"
- In the "CAD to Portfolio" process, I’ll be using ZRemesher, as my goal is to create a mid-poly asset.
- I plan to optimize the mid-res just a bit to lighten it up, but keep in mind, this won't result in an AAA asset.
- I'll be using the mirroring technique, to recover as much UV space as possible and to avoid overlapping UVislands, by moving the UVs 1 unit.
- For everything else, the workflow remains the same as in "From Plasticity 3D CAD to AAA."
**What You Will Learn:**
- CAD modeling techniques, whether through surfacing or volumetric approaches.
- The art of 3D optimization, testing and using automatic retopology in ZBrush, along with baking and texturing.
- The secrets to stunning presentations and rendering.
- How to import and export 3D models for Marmoset Toolbag.
**Course Content:**
- 16 hours, high-quality content in 1980 x 1020 resolution.
- Blueprints to kickstart your journey.
- Reference images for inspiration.
- Plasticity scene files (including the High-Tech Rifle).
- Blender scene files (High-Tech Rifle included "No textures").
- Marmoset 3D scene.
- Marmoset viewer.
- Free Add-ons for Blender.
- OBJ files included.
- Quick video showcasing Nanite technology in UE5.
Important:
The polycount is 316K tris, as this 3D model is designed to be a standout asset for your portfolio.
Nanite Test Run is a simple video showing that technology, isn't a tutorial.
The course consists of 8 parts: four are narrated, while the other four are not.
-0 How to install the radial menu: Narrated.
-1 Plasticity Tutorials: Narrated.
-2 Blender Tutorial Retopology: Non-narrated timelapse. 2 x speed
-3 Optimizing: Non-narrated timelapse. 2 x speed
-4 Unwrapping: Non-narrated timelapse. 2 x speed
-6 Naming convention: Non-narrated timelapse. 2 x speed
-7 Texturing: Narrated.
-8 Happy Ray Tracing! Narrated.
**Pre-Requisites:**
- A basic understanding of Plasticity 3D, Blender, Marmoset Toolbag, Substance Painter, and ZBrush.
**Software Requirements:**
- Plasticity 3D (any version)
- Blender 4.2.1 LTS
- Substance Painter 4.7
- Marmoset Toolbag
- ZBrush
Polycount: 316 K. (Import the right model in UE5 and enable "Nanite".
**Important Notice:**
The models provided here are strictly for portfolio and non-commercial use only.
Please note that due to the nature of this digital product, all sales are final—no refunds will be issued.
Reuploading or sharing this content is strictly prohibited. Thank you for your understanding!
CATEGORIES
Standard Use License
USD $8.00
License: Standard License
Stock Assets
For personal use and one commercial project (up to 2,000 sales or 20,000 views).
TutorialsOne copy to be used by a single user.
Installable ToolsOne installation by a single user.
Learn MoreFiles (22)
https://artstn.co/m/8G13Y
Copied
More by Poly Paul
Add a tip for Poly Paul
Tips are appreciated, but optional!