Sign Up with Epic Games












This product was born from a real need: to import a scene into my project that offers the highest visual quality with the lowest performance cost, while remaining functional and coherent.
The idea behind this product is to offer a solution for: 1) those who need the structure and essential elements to create a scene, 2) a product that provides well-developed interior and exterior spaces, 3) the lowest possible performance cost, 4) sufficient creative freedom to adapt it to various narratives, and 5) a practically pre-assembled setup, saving development time by eliminating the need to build or overthink how to arrange every piece.
Developed in Eevee, designed for integration into Unity, and fully compatible with Cycles and Unreal Engine. Includes 3 interchangeable 2K texture atlases and a series of functional assets. Additionally, it features our Glass for Eevee material, which allows you to see glass over glass and objects behind it*.
—> Works great for both first-person and third-person perspectives, as well as top-down and orthographic views.
Designed as a medical ward (Admissions Unit) with a central nursing station that allows for constant visual monitoring of patients, it can also function as a psychiatric clinic, a private or military research laboratory, and can even house zombies, keeping the infected separated in one area and patients under observation in another while you search for a cure for the virus.
It's plug and play: everything is organized and meticulously handled, including pivots, measurements, and scales. My goal is to offer you a solution: simply drag the model and start using it.
With a low polygon count and a single texture map for nearly everything, this product performs very well on all hardware and is suitable for VR, Mobile, Console, and low-end PC projects, as well as modern systems. It allows you to add an entire scene with its essential assets at a minimal performance and draw call cost. Furthermore, the hierarchy is designed so that objects can be easily instanced, and it supports the use of scripts to maintain rendering only around the viewer (Culling).
Aesthetically, in general terms, it strikes a balance between low poly and realism, keeping the shapes, details, and visuals as neutral as possible to enable the implementation of this model in the widest possible range of themes and projects.
If the user requires more detail, it is simple to add it, unlike presenting a model that already has every detail and the difficulty involved in reducing polygons or removing effects, wear, and dirt. In short: it is much easier to make a scene look dirty than to clean it, and the same applies to the polygon count and level of detail.
- Perhaps your characters and assets are low poly; they will look great. The straight forms and minimalist aesthetic will make everything feel part of the same universe.
- Is your project semi-realistic? That works perfectly, too, as this model sits at that same middle ground.
- Are you looking for realism? Since the model is based on reality, with a 1:1 scale and a structure designed with real-life architectural and functional concepts, it is very simple to add more detail to the meshes if necessary, or add some effects using decals. In just a few steps, you will have brought the scene to the level of realism you need.
Since every project has a 'polygon and resource budget,' I chose to design this model to provide the best visuals while using the lowest possible polygon count, maintaining a minimalist and neutral aesthetic. This ensures the architecture doesn't consume more than it should, leaving the maximum amount of resources available for the rest of your project.
Additionally, I have added visual features that help focus the gaze and guide the viewer (or player), and I have considered the dimensions of each room to ensure they allow for smooth movement for the player and cameras, even accommodating several NPCs with sufficient space between objects. The same applies to the openings, which are slightly exaggerated in width to ensure that realism does not obstruct a camera, a character, a player, or an object.
--> The model includes:
All the base architecture, naturally (walls, floors, windows, shutters, doors, light fixtures, masonry, baseboards, etc.).
Lights (Area, Spot, and Point) and fake light fixtures (those that appear to emit light).
Essential basic assets (I will detail them in a complete list below).
3 interchangeable atlases (BaseColor/Albedo) with tiles in Gray (suggested by default), Green, and Reddish tones. The ones corresponding to the central area are kept in grayish-white in all 3 cases.
--> Layout:
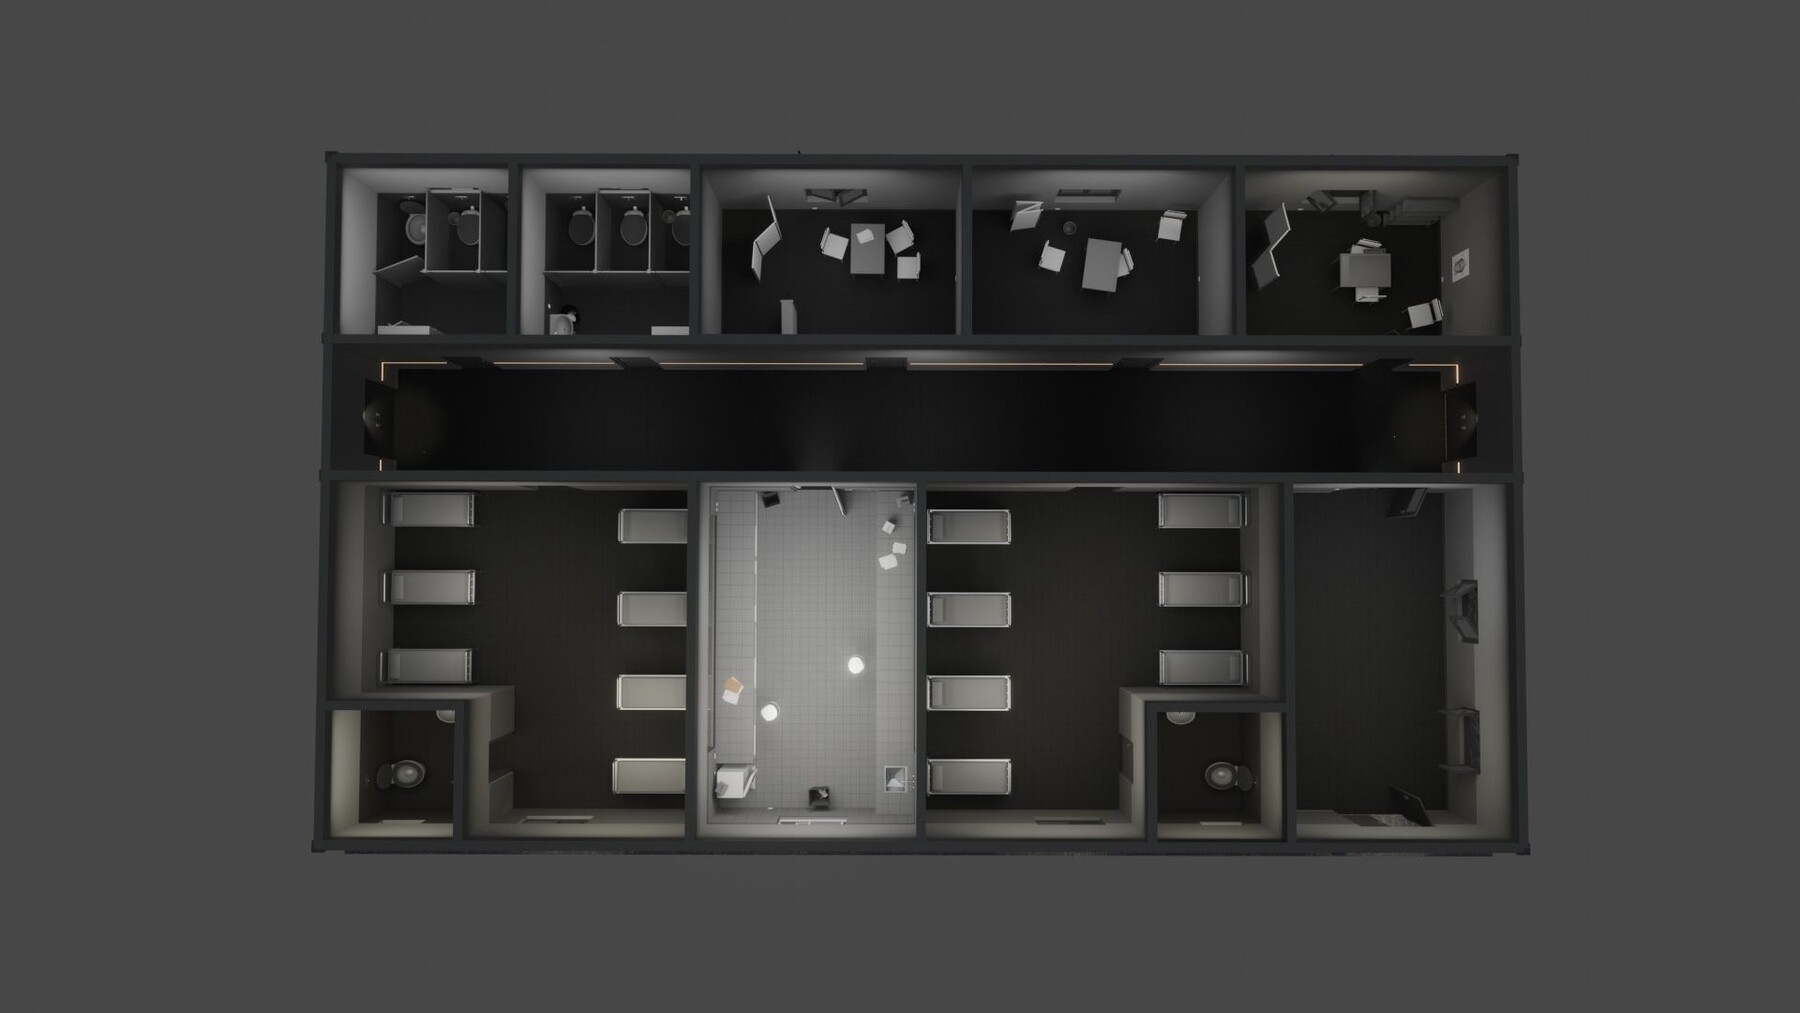
Exterior: a neutral facade with an institutional appearance, bordered by a concrete sidewalk and a series of external lights that visually frame the structure. There are 3 entrances: one in the front and two on the sides. The side entrances connect to a general corridor and can be used for bringing in patients, military supplies, or zombies, while the main entrance leads into a first room (A) that serves as a waiting room, or as a checkpoint if used as a security, private, or military facility.
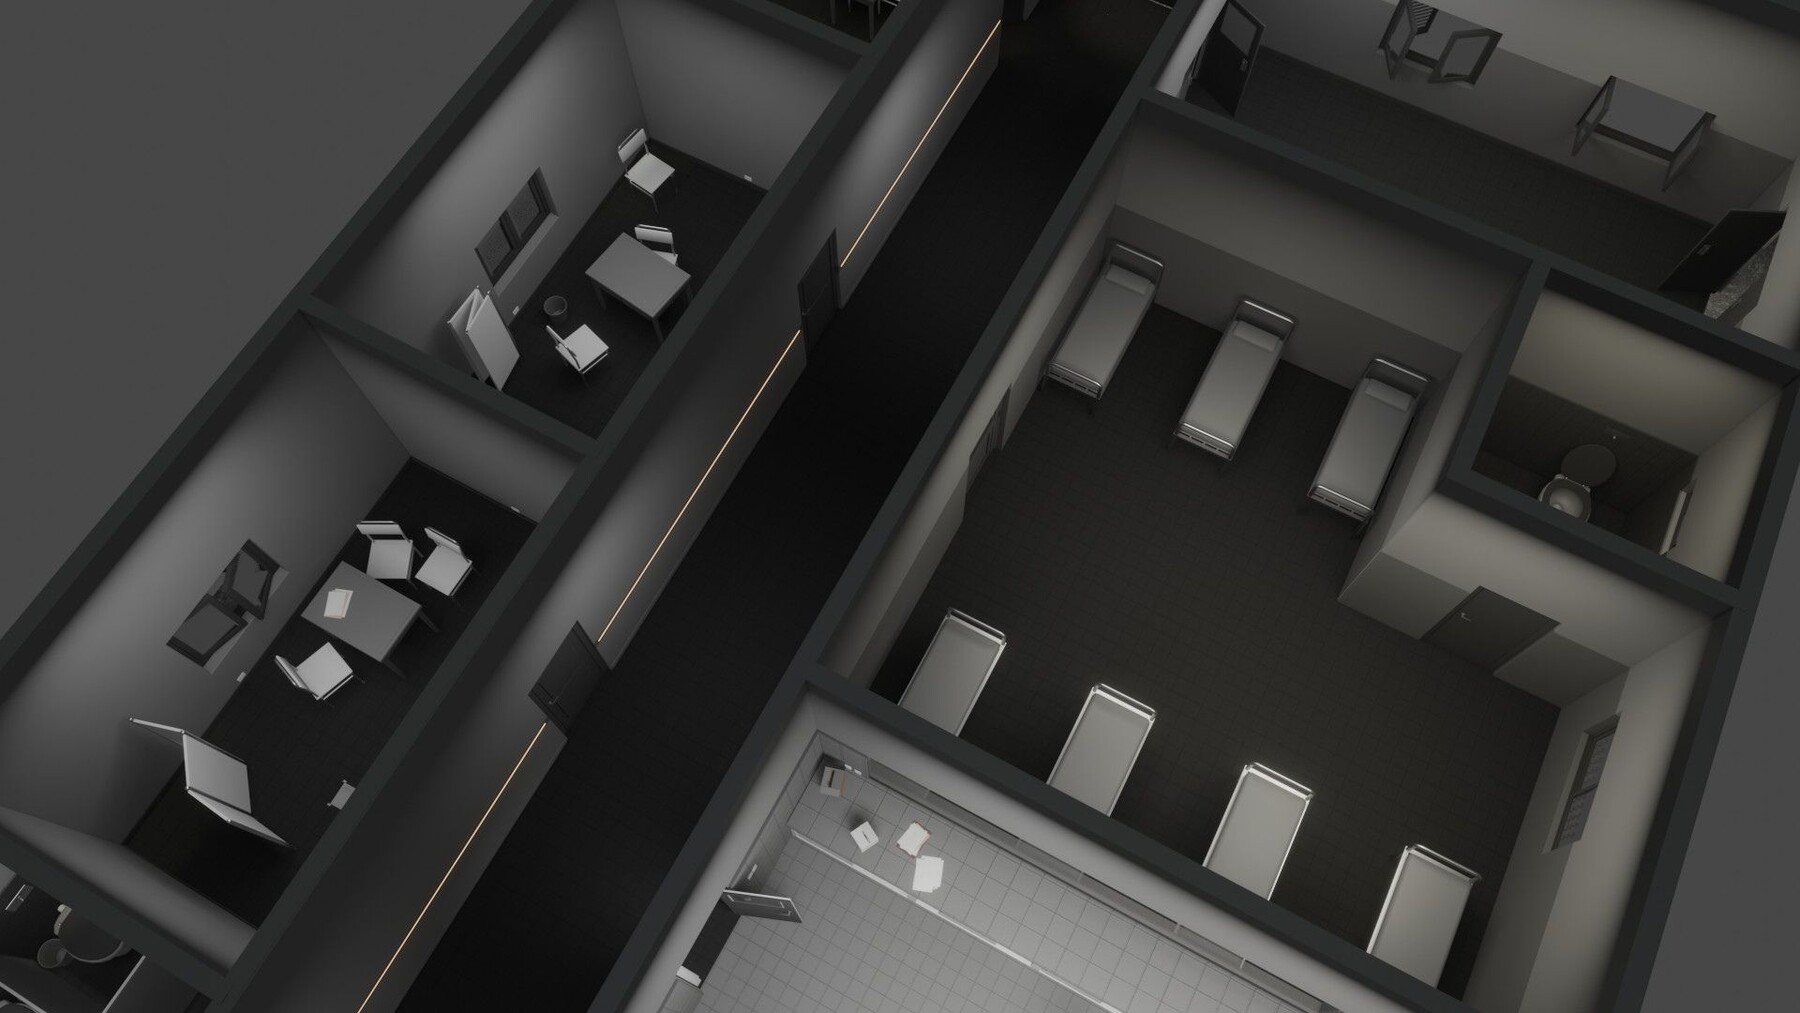
From this room (A), there is a double door that connects to the central corridor. This corridor runs across the width of the building and connects to all the rooms in the structure. To the right, there is a series of doors leading to 3 private consulting rooms (E, F, G), which can also be used as offices or meeting rooms, and at the end, two service bathrooms for staff and the public (H). To the left, there are two containment doors with a security latch to be locked from the corridor, which are slightly wider and heavier than the rest of the doors and seal off two containment rooms (B, D).
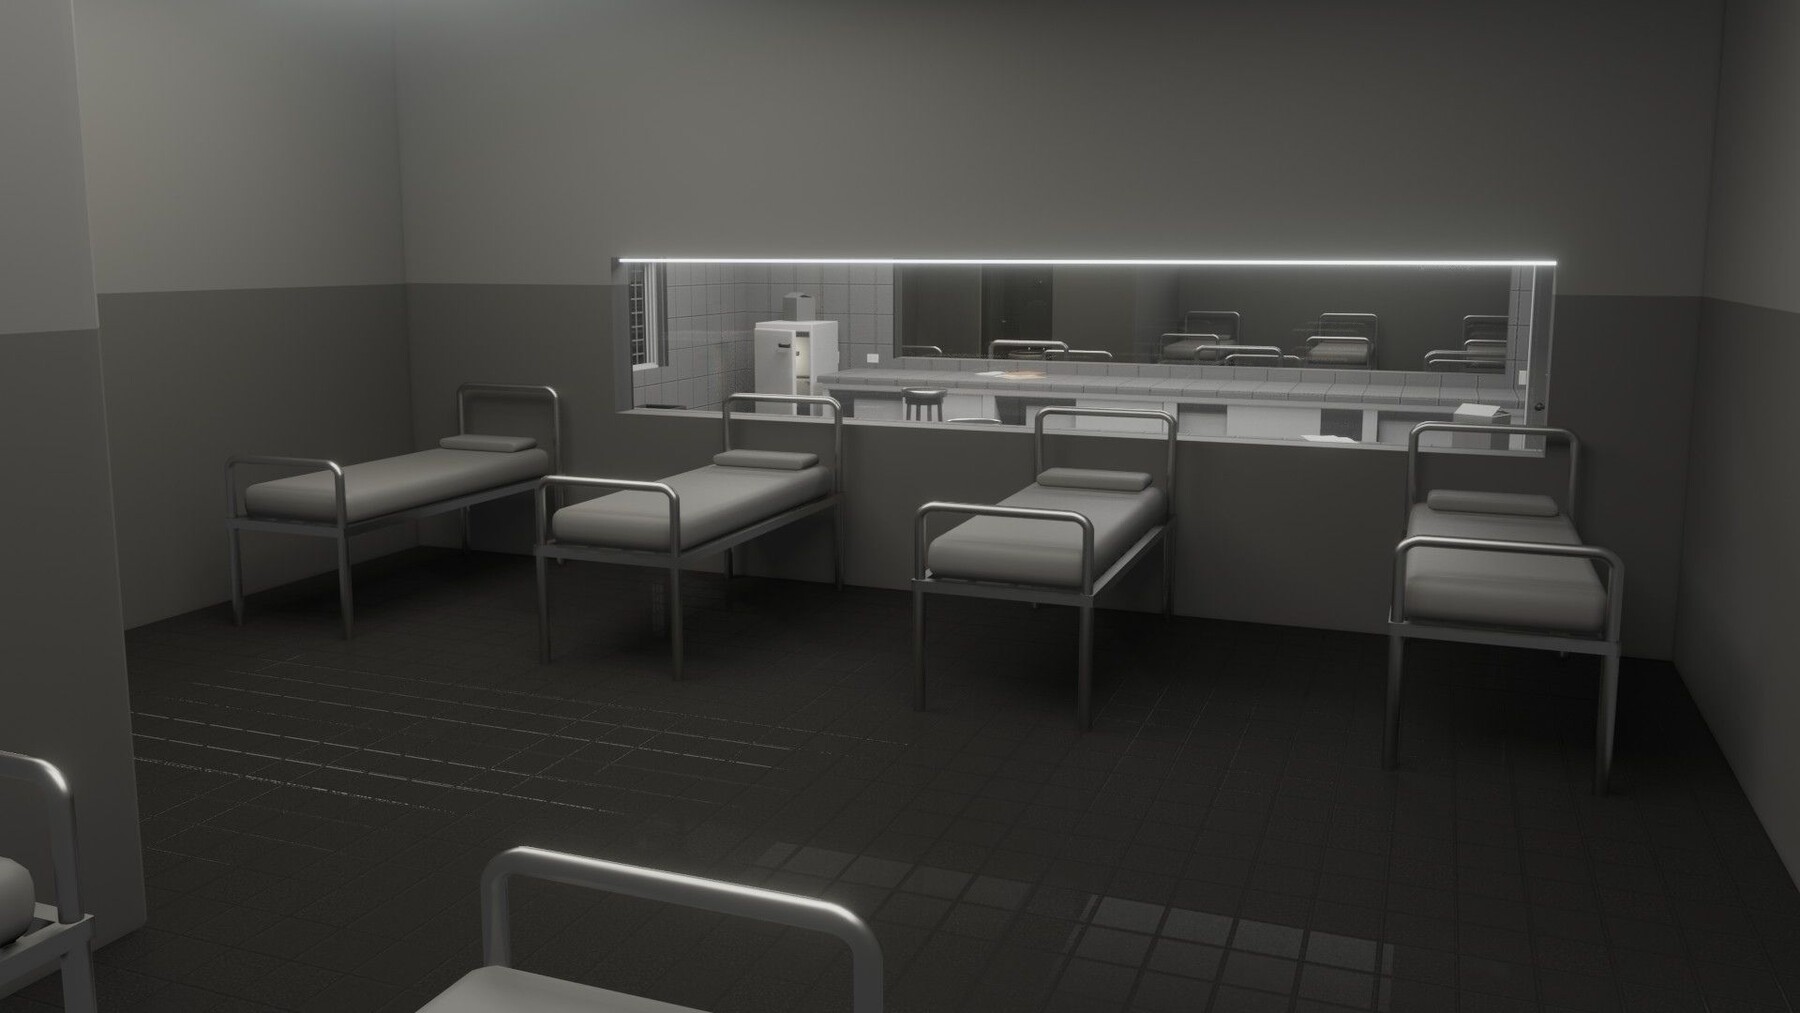
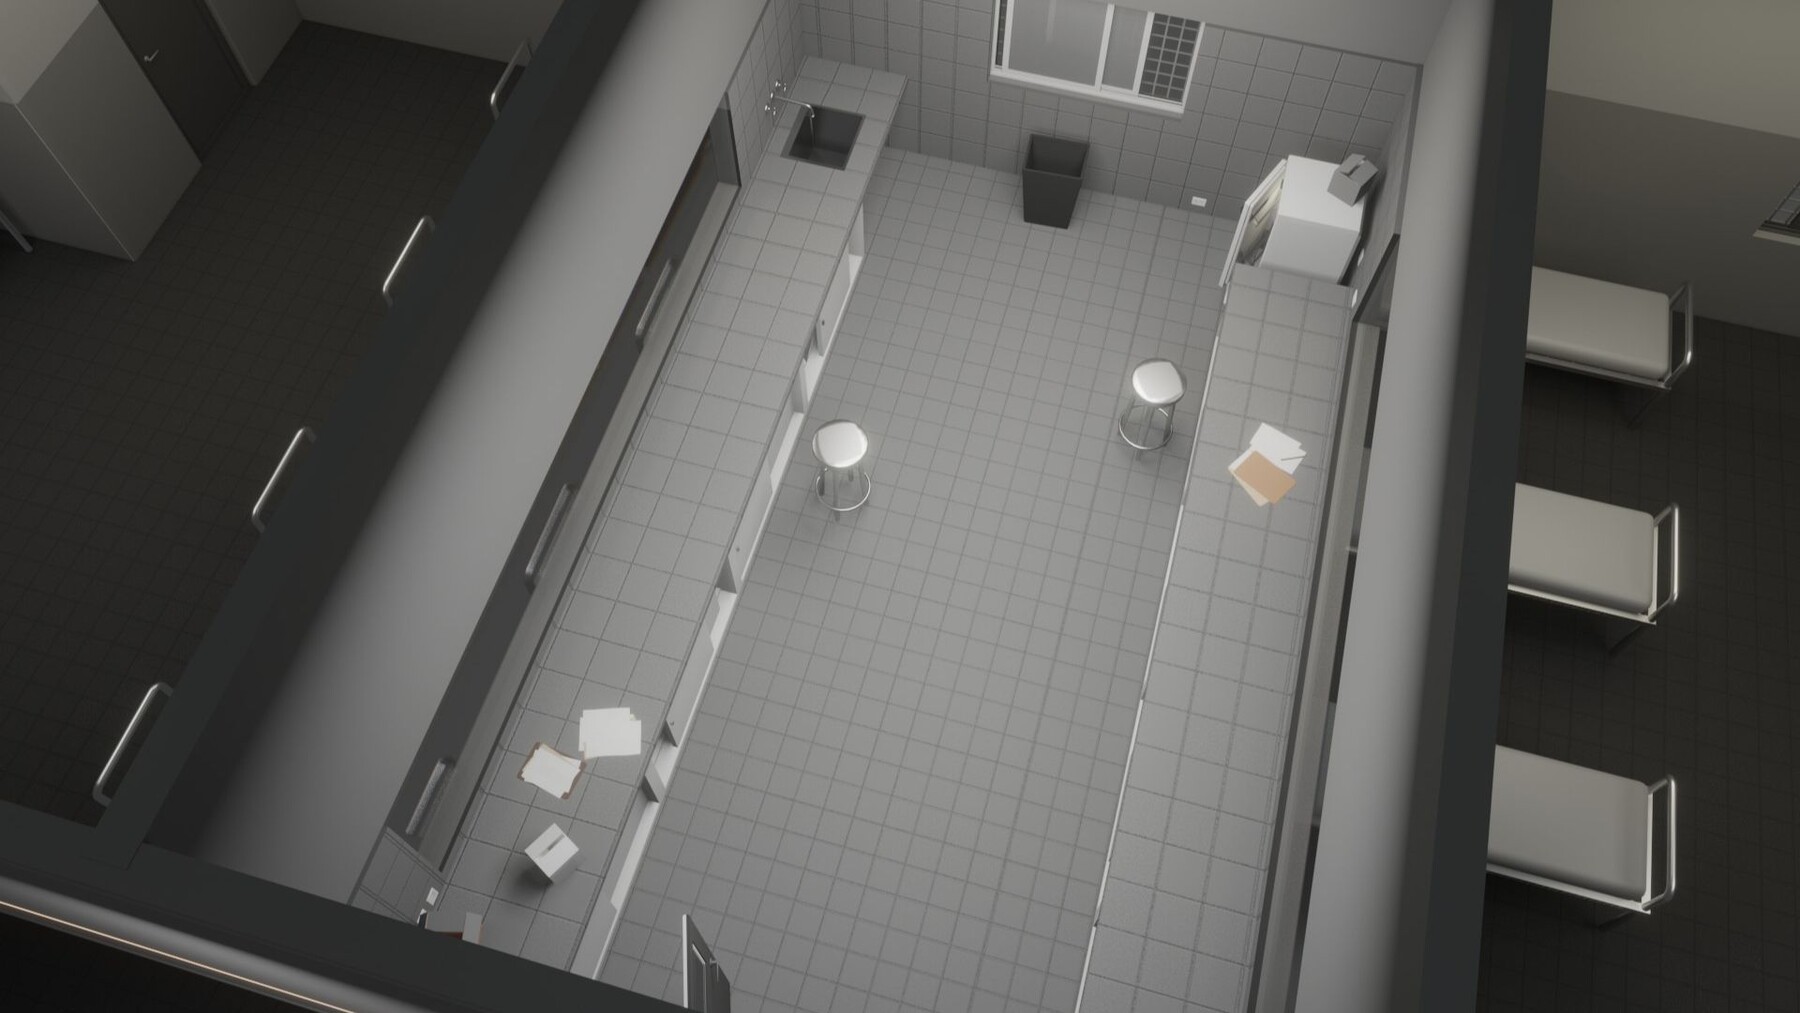
And between these two is the central area that serves as the thematic core (C): you will notice that this is the only area with whitish and higher-intensity lighting than the rest. It functions as a nursing station and a control point over the containment areas, which you can oversee through two thick, unbreakable glass panes, one on each side.
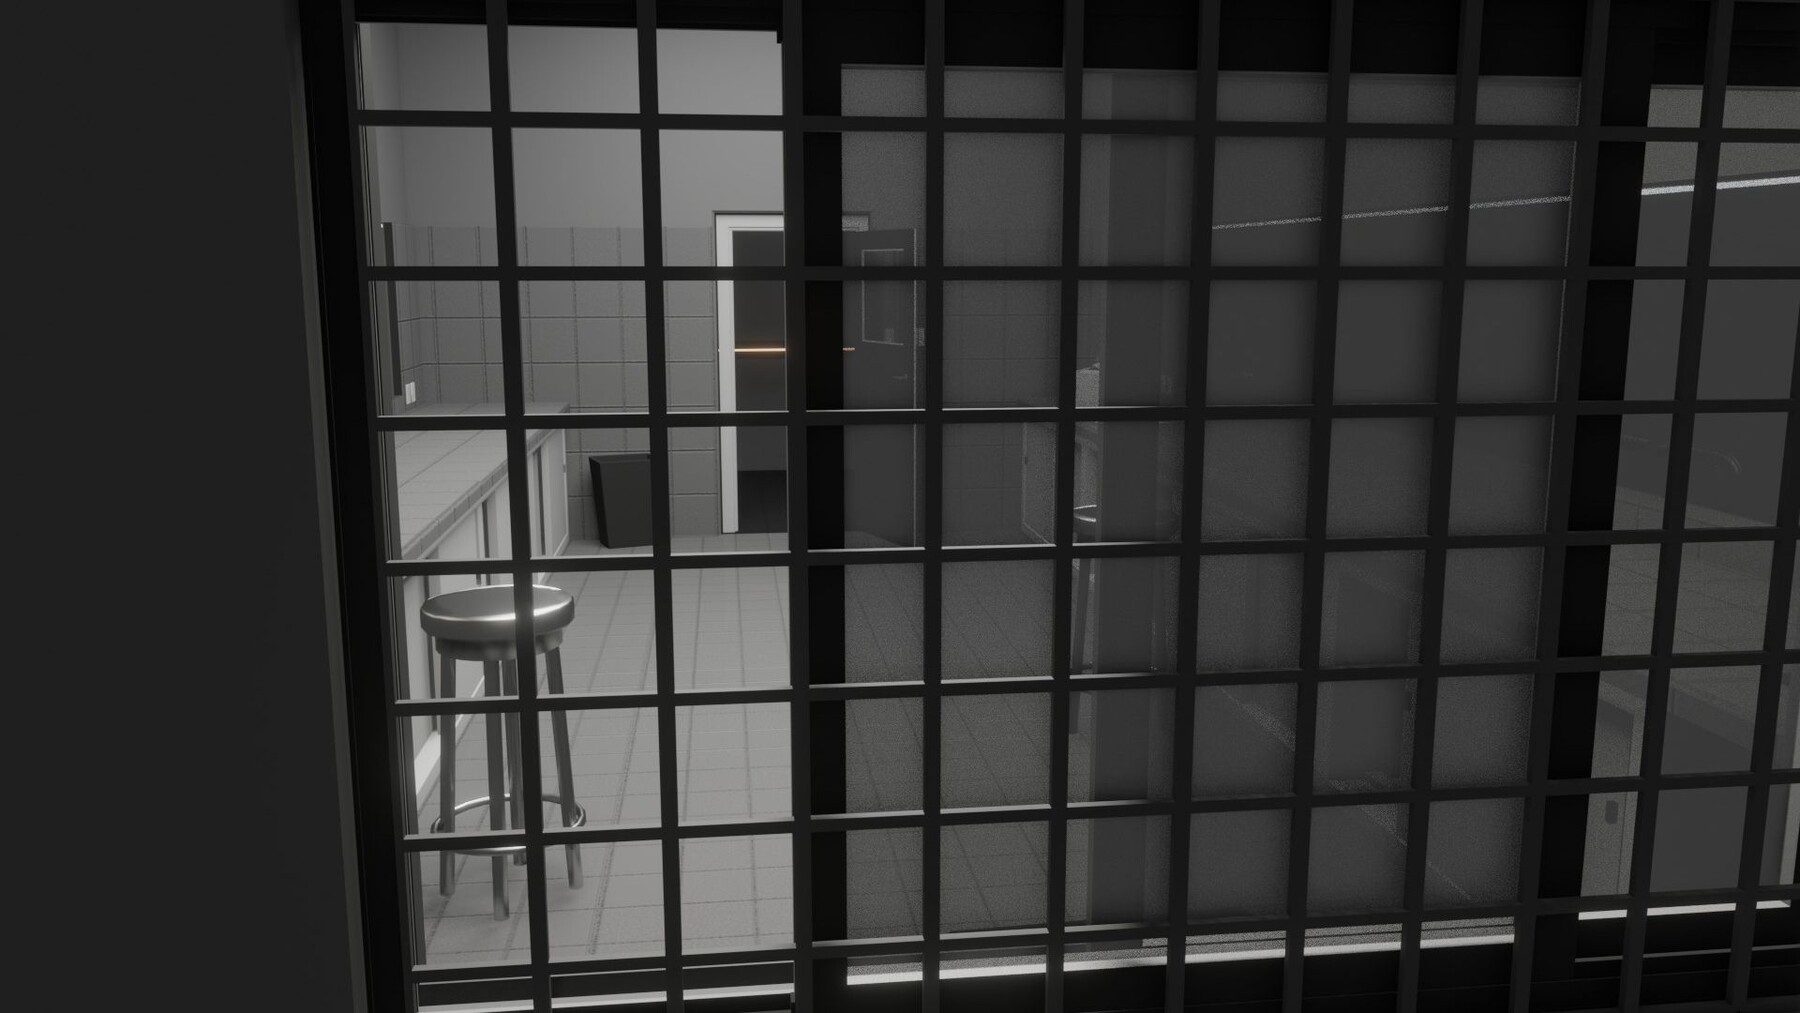
A curious and useful gameplay element is that the view here is doubled: we can see what is inside each containment area, but anyone inside those areas will also have a view of what is happening in both the center and the opposite area, as they can also see through the two glass panes. A couple of interesting mechanics can be generated with this double view: I imagine a team-based multiplayer cooperative game where players have to coordinate between one area and the other to escape, and perhaps take control of the center. Or in a game with NPCs, having to coordinate some similar mechanic with one of them.
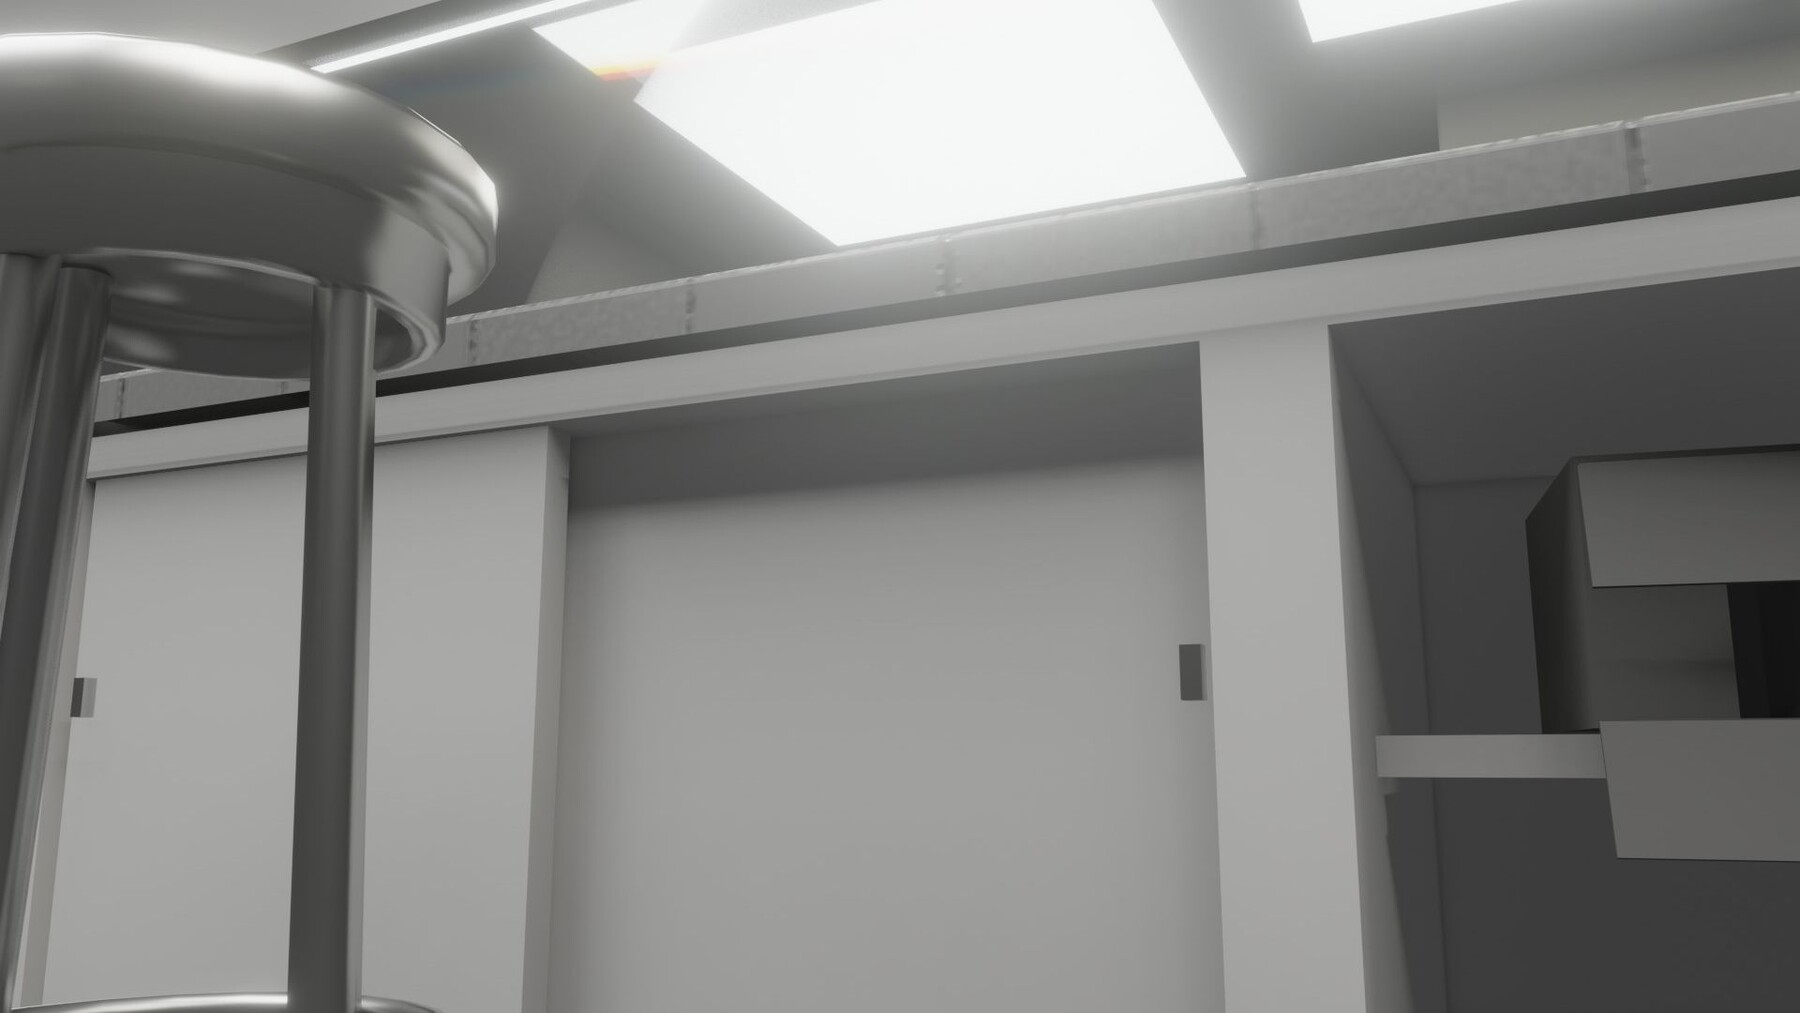
(C) This central zone serves as a thematic core, with the rest of the gameplay potentially revolving entirely around this area. It features two cabinets with sliding doors and an inner shelf, ideal for hiding items. In one of them, we have a sink with its faucet; the handles rotate and can be animated. At the end of the other cabinet, we have a refrigerator with two shelves and door compartments, which is also animatable, featuring a fake light and a Point light that can be toggled on or off if you use a script. The bottom edge also opens, in this case on its horizontal axis, and is animatable. It is ideal for placing hidden items for the player to find only if they are curious enough, perhaps a power-up or an important secondary item.
In this zone, we also have the switches that would realistically control its own ceiling lights, as well as those for each containment area and its bathroom, along with 3 switches that would control the corridor lights. (This could also be very useful for gameplay).
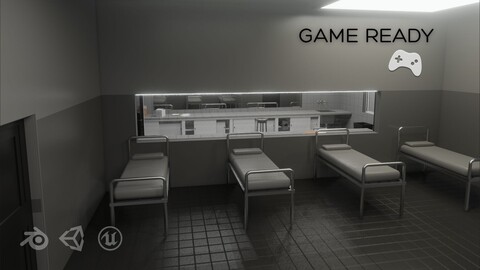
(B, D) The containment areas are designed based on the logical security that such an institution would have in reality: the door is slightly wider to allow the passage of a high-risk patient, perhaps restrained, perhaps with a couple of guards escorting them, or even stretchers and transport objects. For security reasons, these doors have a latch on the outside and are smooth on the inside to prevent any escape attempts. Once inside, there are 7 minimalist medical-style beds and a private bathroom whose door is visible, allowing its interior to be seen if observed from the center. It is designed to have few blind spots. There is no access to electricity in here either; the lights are turned on from the central area (I have not placed switch or outlet assets here).
You will see that we have bars in specific spots, not just to save polygons but for narrative purposes: a grate on every window of the containment rooms (so nothing gets out), and a grate in the central area (for the security of the area's own function, and even more so if we have a private or military research lab, so that nothing or no one tries to get in here).
The same goes for the lights: outside, these 3 windows are illuminated so that surveillance can clearly see that nothing enters or leaves through here, in addition to a Spot light over the main entrance (to mark it visually and for surveillance); then, at each side door (same logic), and around the back, I have positioned the Spot lights as one would in reality: using as few as possible and arranging them more freely based on the cutout they would make on the windows while maintaining a visual logic relative to the entire wall.
(H) The staff bathrooms have 3 cubicles separating 3 toilets; their lids, seats, and flush buttons are animatable—meaning they rotate or slide—just details. The water could also be animated by moving it along the Z or Y axis if you are in Unity, and the toilet's own geometry does the rest of the effect. Additionally, in each bathroom, we have a vanity unit with a faucet that also turns, and an 8-slot locker, with doors that also function and are animatable. Ideal for inventory, collecting items, setting up a padlock puzzle to retrieve a key, a mobile phone, a note... you tell me. The transom window has opaque glass, as a matter of logic. A necessary detail.
(E, F, G) The consulting rooms (also useful as offices, studies, or meeting rooms) feature a double window with shutters and essential furniture: a desk with two drawers that can slide, 3 chairs, a bookshelf, and a privacy screen that can be folded or unfolded as desired (the central part is the main one, and each side wing rotates on it; rotate the wings first, then finish placing the object from the center part).
I added a rim to the roof, a cornice that serves both to give more character to the facade and to be used in some part of the gameplay: security personnel, surveillance, snipers, rooftop escapes, or even a landing zone for a helicopter. There is also a water tank to provide a minimum amount of cover if needed, in addition to contributing to the visuals when viewed in first-person from normal ground height. Its position is also logical, i.e., above the central core (C). Another tank could be used in the bathroom area. Optional.
--> Neon:
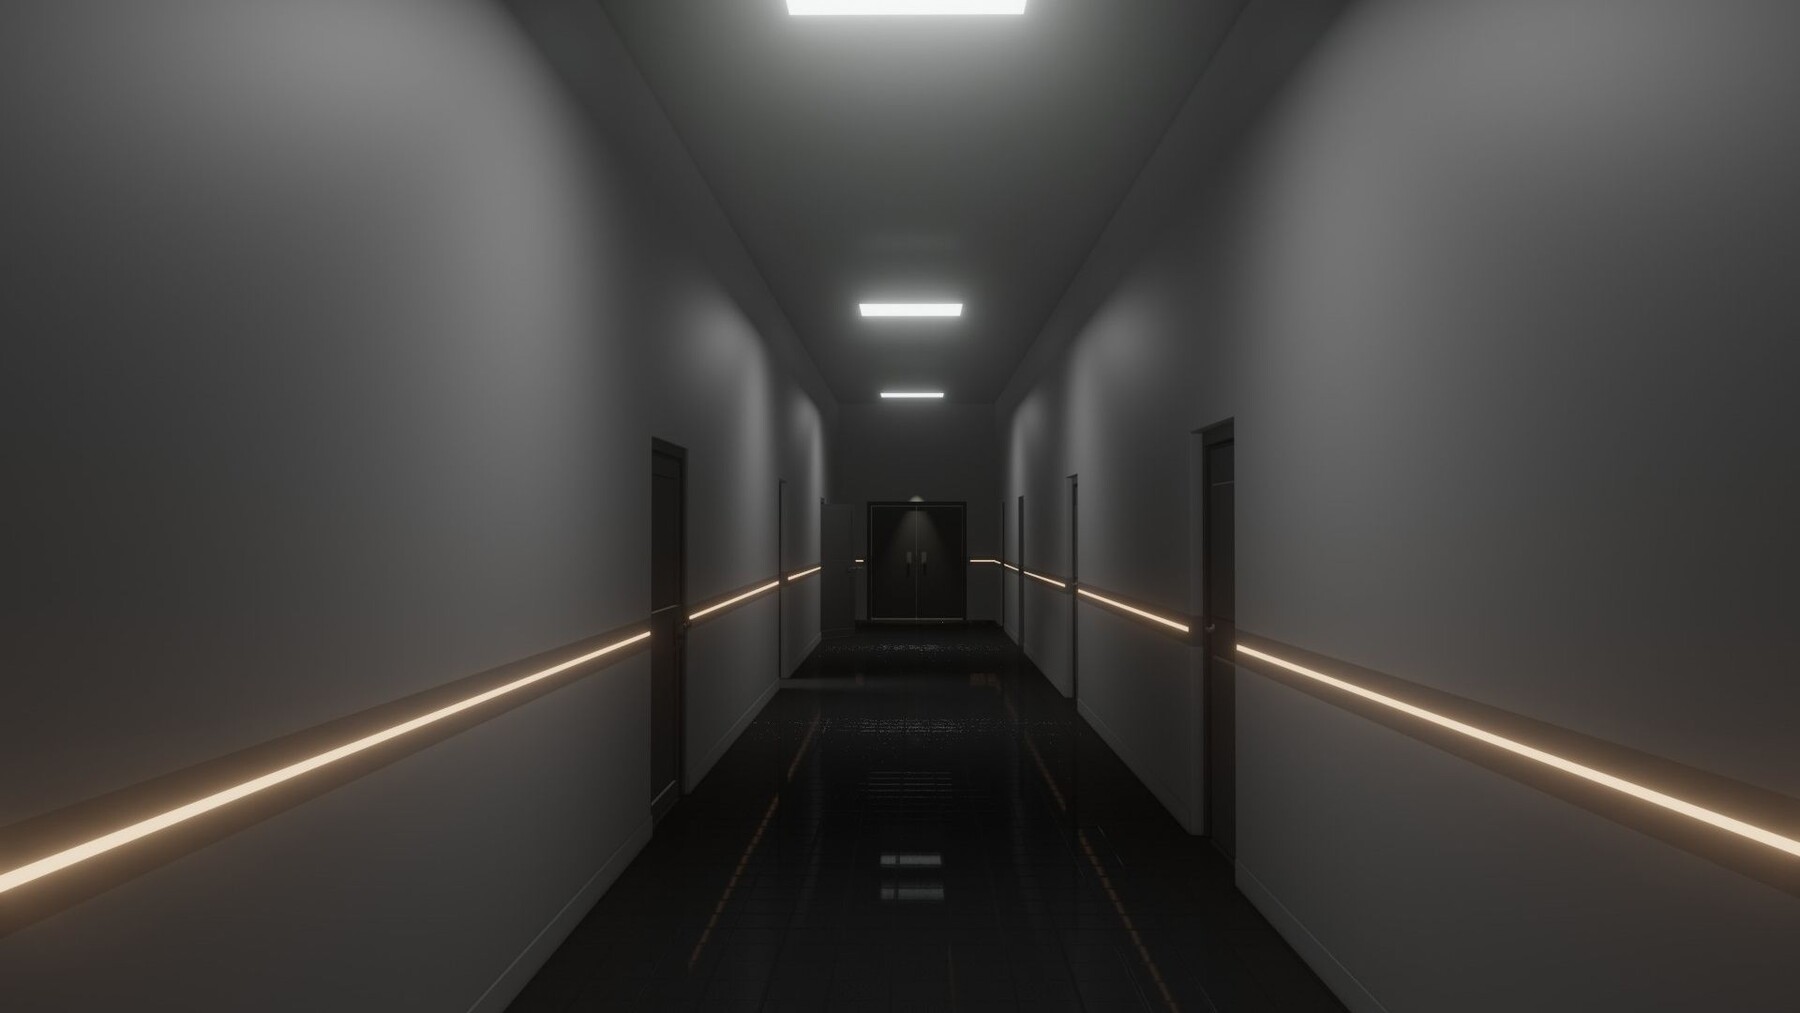
It is optional and can be toggled on or off directly from the hierarchy. If you are looking for a more conservative aesthetic, you can deactivate both the neon and the effect on the main door. If something closer to sci-fi (both contemporary or futuristic) fits better in your scene, you can consider activating it and deciding whether or not to "identify" the main entrance door.
Within a collection are the elements that make up these neon lines. On one hand, there is the option for neon in the hallway and side doors, and on the other hand, the option to add this neon to the exterior of the front door, the main one.
It serves not only for aesthetics but also to guide the eye and a potential player: the hallway neon indicates a transit hub, importance, and a quick view of its entire length and the door cutouts. Additionally, you can easily change the color from the materials tab, as well as regulate the intensity of the glow/emission. It is ideal for identifying the building from afar, at night, or in dim light; and even more so if your project has more than one structure with this type of illuminated entrance, like a color-coding system: we could have one with an orange entrance for military or containment use, a light blue one for clinical/medical, or a red or green one for electrical or power facilities... to your liking. By the way, I will be presenting more units that will accompany this model, using precisely that idea.
--> Lights:
The lighting has been configured to offer zones of higher illumination based on importance and logic, as well as areas with some dimness. I have also included the detail that some lights have subtly different tonalities, because in reality, in institutions, when light fixtures are replaced, the stock they receive is not always exactly the same as what they had; the same goes for the wear on fixtures that have not yet been changed, which would look dimmer or warmer.
--> Interior/Exterior Design:
The model is fully traversable from the outside and inside, just like any real-life building. It is designed using modules and a shell, keeping lightmap baking in mind and to avoid bleeding: the walls are modular internally and are covered on their opposite side by a shell, so that the baking does not have the possibility of leaking Texel calculations. Conversely, the floors are single-piece (as is the ceiling) to offer continuity in the lighting.
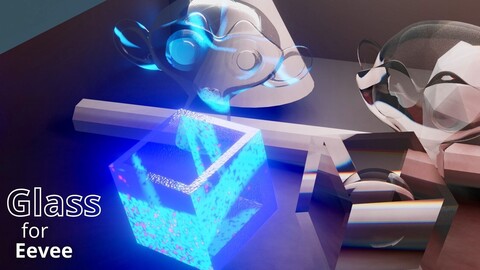
Materials: Atlas, Glass*, Glass Opaque, Metal, Emission White, and Neon Color. *We use our Glass for Eevee, a material created with just a few nodes that, when combined correctly, solve transparency issues in this engine, allowing you to see glass over glass and objects behind them with a lightweight shader. This material can be downloaded for free from our store.
--> Technical Details:
- Source file: .blend (Blender 3.6 or higher)
- Export files: .fbx, .obj, .usdc
- Polygon and vertex count:
Base Architecture: 17k polygons | 21k vertices
Assets (furniture and misc): 53k polygons | 58k vertices
Complete (Base + Assets): 70k polygons | 79k vertices
--> Textures:
3 interchangeable BaseColor/Albedo RGBA Atlases + Roughness + Normal Map, in Targa format and 2K resolution (I have left free space in the Atlas so you can add decals or extras without needing to use another separate texture).
License: Royalty Free.
--> What is included in this product?
Objects:
Base Architecture: Floor, ceiling, walls, and smooth shells with baseboards, with tiles up to half-height; double-leaf windows with shutters, double-leaf sliding windows, double-leaf sliding transom windows, fixed glass, solid double doors and doors with glass, plain single doors with bevel, and 2 wide doors with latches; facade columns, fake light fixtures, switch boxes (single, double, and triple), and wall outlets (single and double).
Assets: Fixed partitions, movable privacy screens, 3 waiting benches, complete toilet with water and movable button (metal and plastic type), vanity unit with faucet and tap; clinical-style beds (metal with low poly mattress and pillow), 3 trash can models (large, medium, small; circular and rectangular, with and without trash), refrigerator with light, 2 glass shelves and 3 door compartments; metal stools, chairs, desks with sliding drawers and the option to add a glass material to the top; 2 long cabinets (C) with ceramic tops, inner shelf, and 8 sliding doors (each); stainless steel sink with two faucets and tap; shelving units with 4 spaces (each); 2 lockers with 8 compartments with functional doors (4 upper, 4 lower layout); cardboard-style boxes in 2 sizes; loose papers, colored folder, and low poly pencil.
Files:
1 ZIP file containing:
-- ALL Folder (drag and drop into your project and use directly)
.blend source file with the architecture and assets placed and not instanced, exactly as shown in the product renders.
Exports subfolder with the same content in .fbx, .usdc, .obj/.mlt, and .glb formats.
Textures subfolder with the 3 BaseColor/Albedo maps (Gray, Green, Reddish), Roughness map, and Normal map, all in Targa format and 2K resolution.
-- PARTS Folder (the product divided into base/architecture and loose individual assets for instancing or dressing the scene as you like)
Base_Architecture and Assets files in .blend format.
Exports subfolder with the same content in .fbx, .usdc, .obj/.mlt, and .glb formats.
Textures subfolder with the 3 BaseColor/Albedo maps (Gray, Green, Reddish), Roughness map, and Normal map, all in Targa format and 2K resolution.
-- Textures Folder (with the same textures—I wanted to ensure everything works from any folder, even though they are embedded).
-- Renders folder with promotional product images.
-- License.
Note:
Each pivot has a default 0 rotation, so it is simple to return these opening angles to their rest position: simply select the object and clear the rotation with Alt+R (Option+R on Mac). A background with a grass texture is included to provide a base for the whole model and prevent it from floating in the editor window, along with a Moon (Sun-type light) to better define the shadows. You can arrange these elements which, along with the Camera, are located outside the Collection containing all the product elements, named U1_ADMISSIONS_UNIT.
I will be publishing units 2 (U2) and 3 (U3) as soon as they are ready; they follow the same design line and are compatible with each other.
The model is yours and for you; make it your own by adding the relevant assets from your project and modifying whatever you need!
Best of luck with your development! Let me know how it went and, if possible, share it with me; I would be very happy to see the result in its full expression and application.
Best regards!
Surrealisium | SRLM
© 2026. All rights reserved
CATEGORIES
Standard Use License
USD $19.99
License: Standard License
Stock Assets
For personal use and one commercial project (up to 2,000 sales or 20,000 views).
TutorialsOne copy to be used by a single user.
Installable ToolsOne installation by a single user.
Learn MoreFiles (1)
https://artstn.co/m/kl7Kg
Copied
More by Surrealisium



Add a tip for Surrealisium
Tips are appreciated, but optional!