Sign Up with Epic Games
The Leica Q3 Masterclass: A Complete Hard-Surface Journey

in Tutorials


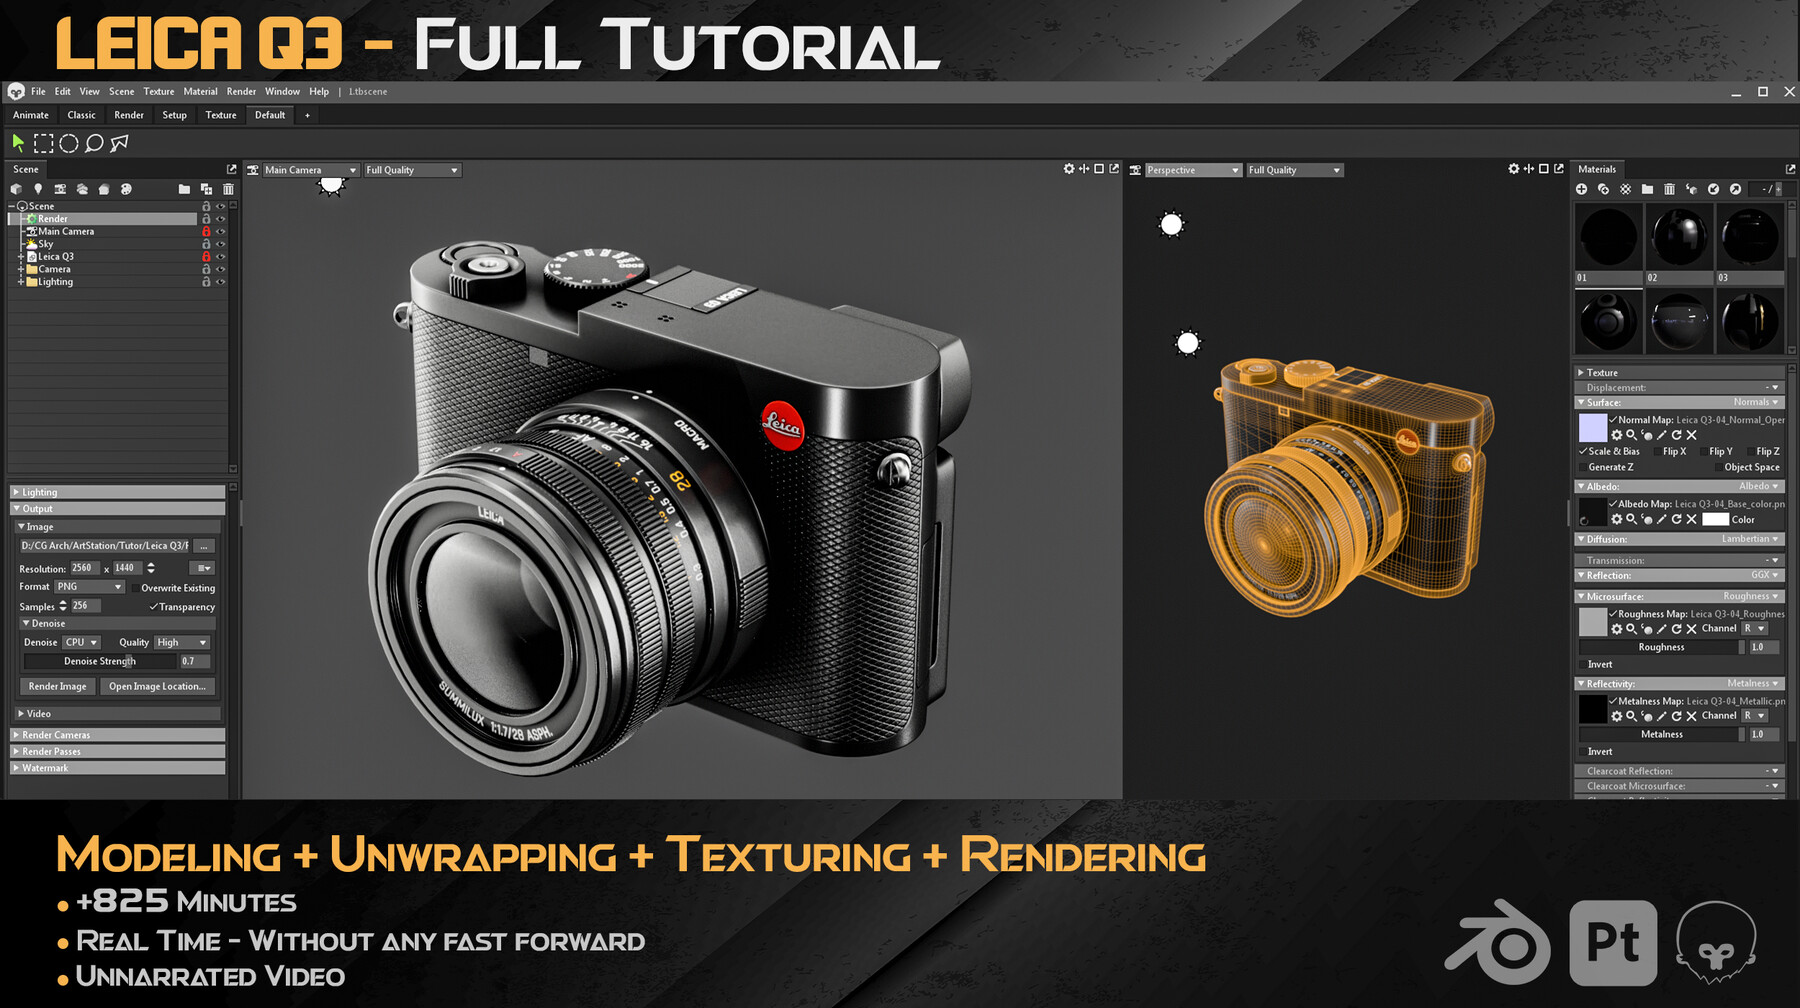
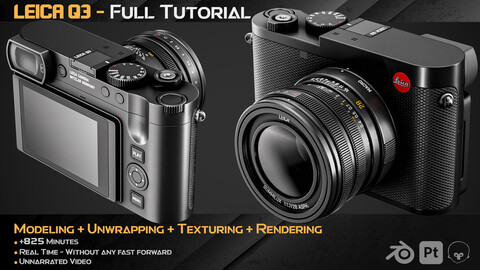
Are you ready to master one of the most iconic pieces of industrial design? This 13.5-hour, real-time tutorial takes you through every step of creating a professional-grade Leica Q3. Whether you want to sharpen your Boolean workflow or master 4K texturing, this course delivers the blueprint for high-end asset creation.
⚠️ IMPORTANT NOTE
This is a strictly visual, real-time tutorial. There is no voice-over or subtitle narration. The video consists of screen recordings in real-time (no fast-forwarding) with an on-screen display of all keyboard shortcuts used.
🚀 Why Choose This Tutorial?
- 1. Complete Transparency (100% Real-Time): This course is recorded entirely in real-time. You will see every single click, every operation, and every topology fix.
- 2. Master Complex Industrial Geometry: The Leica Q3 blends curves with sharp mechanical precision. You will learn how to tackle complex challenges applicable to any high-end 3D asset, from tech gadgets to automotive parts.
- 3. Seamless Industry-Standard Pipeline: Learn how to bridge the gap between software. We move from Blender (Modeling/UV) to Substance Painter (Texturing) and finalize in Marmoset Toolbag 4 (Rendering).
- 4. Production-Ready Technical Standards: We focus on clean, Quad-based topology and optimized UV sets to maximize texel density—meeting the rigorous standards of the CG industries.
- 5. Portfolio-Grade Results: At the end of this journey, you will have a photorealistic, portfolio-ready asset that demonstrates your ability to handle high-fidelity modeling tasks.
📂 What You Will Learn
1. Modeling (Blender 4.2) | 35 Parts | ~10 Hours We begin with a simple circle and progressively build the complex curves and mechanical details of the Leica Q3. You will learn advanced hard-surface modeling techniques, focusing on achieving perfect quad topology, managing complex Boolean intersections, and establishing the true form of the camera.
2. UV Unwrapping (Blender + Zen UV) | 5 Parts | ~1.5 Hours Proper texturing requires flawless UVs. For a dense mesh like this, standard unwrapping isn't enough. Using the Zen UV add-on, we will cover advanced unwrapping techniques for objects and utilize Material Linking techniques to maximize texel density and avoid low-resolution artifacts.
3. Texturing (Substance Painter 9.1) | 3 Parts | ~50 Minutes Bring the camera to life by creating realistic materials. We will use custom alphas (included in the tutorial) to recreate the intricate details, dials, and the distinct grip texture of the camera body, ensuring a photorealistic aesthetic.
4. Lighting & Rendering (Marmoset Toolbag 4) | 2 Parts | ~40 Minutes In the final phase, we export our 4K textures into Marmoset Toolbag 4. You will learn how to set up professional lighting to highlight the hard-surface details and achieve stunning, portfolio-ready renders.
🛠 Tutorial Specifications
- Total Duration: 13 Hours, 48 Minutes
- Format: Real-time screen recording with shortcut display
- Audio: Unnarrated (No Voice-over)
- Skill Level: Upper-Intermediate (Prerequisite: Basic knowledge of the software used)
- Software/Add-ons:
+Blender 4.2 (Loop Tools, Bool Tools, Zen UV)
+Substance Painter 9.1
+Marmoset Toolbag 4.
📦 Mesh & Project Properties
- Topology: Clean, Quad-Based Mesh
- Textures: 4K Resolution, PNG (8-bit)
- UVs: Fully Unwrapped
-
Polycount:
- Vertices: 360,741
- Edges: 716,828
- Faces: 356,116
- Triangles: 711,976
Elevate your hard-surface workflow today. This tutorial is crafted to provide you with a production-ready mindset, helping you master the intricate details of complex industrial design. We look forward to seeing how you apply these techniques to your own professional portfolio.
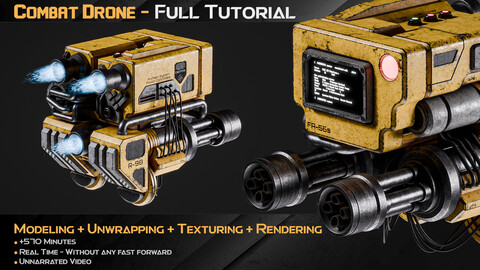
COMBAT DRONE / 3D Model+Full Tutorial ----- https://artstn.co/m/8GJxw
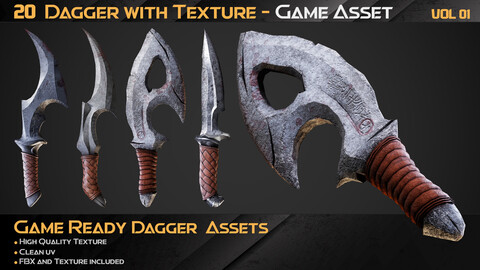
20 Game ready Dagger Assets - Vol 01--------- https://artstn.co/m/MXel6
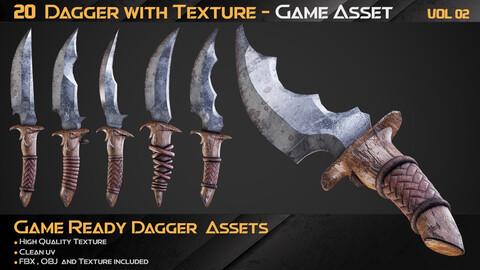
20 Game ready Dagger Assets - Vol 02--------- https://artstn.co/m/BgeGx
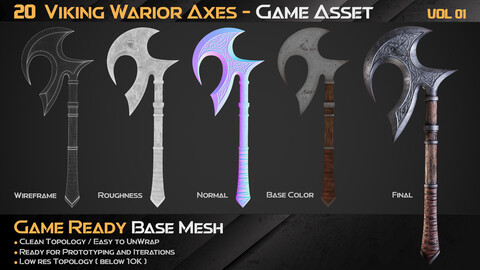
20 Viking warrior AXES - Basemesh - Vol01 ---- https://artstn.co/m/PXxP9
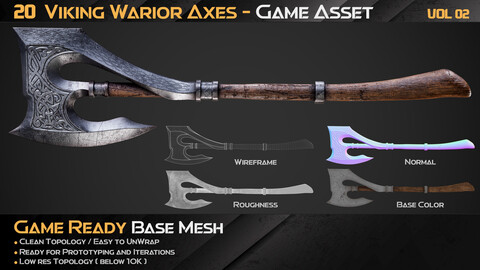
20 Viking warrior AXES - Basemesh - Vol 02---- https://artstn.co/m/Kmve7
Release Notes
Edit price
CATEGORIES
3D Model (Standard License)
USD $7.50
License: Standard License
Stock Assets
For personal use and one commercial project (up to 2,000 sales or 20,000 views).
TutorialsOne copy to be used by a single user.
Installable ToolsOne installation by a single user.
Learn MoreLicense: Standard License
This variant contains a 3D model and 4K textures. Read MoreRead Less
Files (2)
Tutorials (Standard License)
USD $15.50
License: Standard License
Stock Assets
For personal use and one commercial project (up to 2,000 sales or 20,000 views).
TutorialsOne copy to be used by a single user.
Installable ToolsOne installation by a single user.
Learn MoreLicense: Standard License
This variant contains tutorial videos and references. Read MoreRead Less
Files (4)
Full Pack (Standard License)
USD $20.50
License: Standard License
Stock Assets
For personal use and one commercial project (up to 2,000 sales or 20,000 views).
TutorialsOne copy to be used by a single user.
Installable ToolsOne installation by a single user.
Learn MoreLicense: Standard License
This variant contains 3D Model, 4k Textures, Tutorials, and References. Read MoreRead Less
Files (6)
3D Model (Extended Commercial License)
USD $25.00
License: Extended Commercial License
Stock Assets
For use on an unlimited number of commercial projects with no limits on sales or views.
Learn MoreLicense: Extended Commercial License
This variant contains a 3D model and 4K textures. This license is for use on an unlimited number of commercial projects with no limits on sales or views, or for companies or teams where multiple people will use the product. Read MoreRead Less
Files (2)
Educational/Company license (Unlimited)
USD $60.00
License: Extended Commercial License
Stock Assets
For use on an unlimited number of commercial projects with no limits on sales or views.
Learn MoreLicense: Extended Commercial License
This variant contains 3D models, textures, and full tutorials. An unlimited number of viewers/users at one school/company or event location. Read MoreRead Less
Files (6)
https://artstn.co/m/PBJw9
Copied
More by CGArc Studio

Add a tip for CGArc Studio
Tips are appreciated, but optional!