Sign Up with Epic Games
Hi!
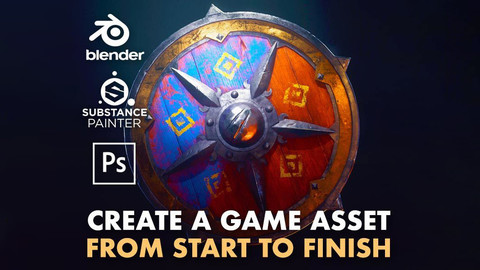
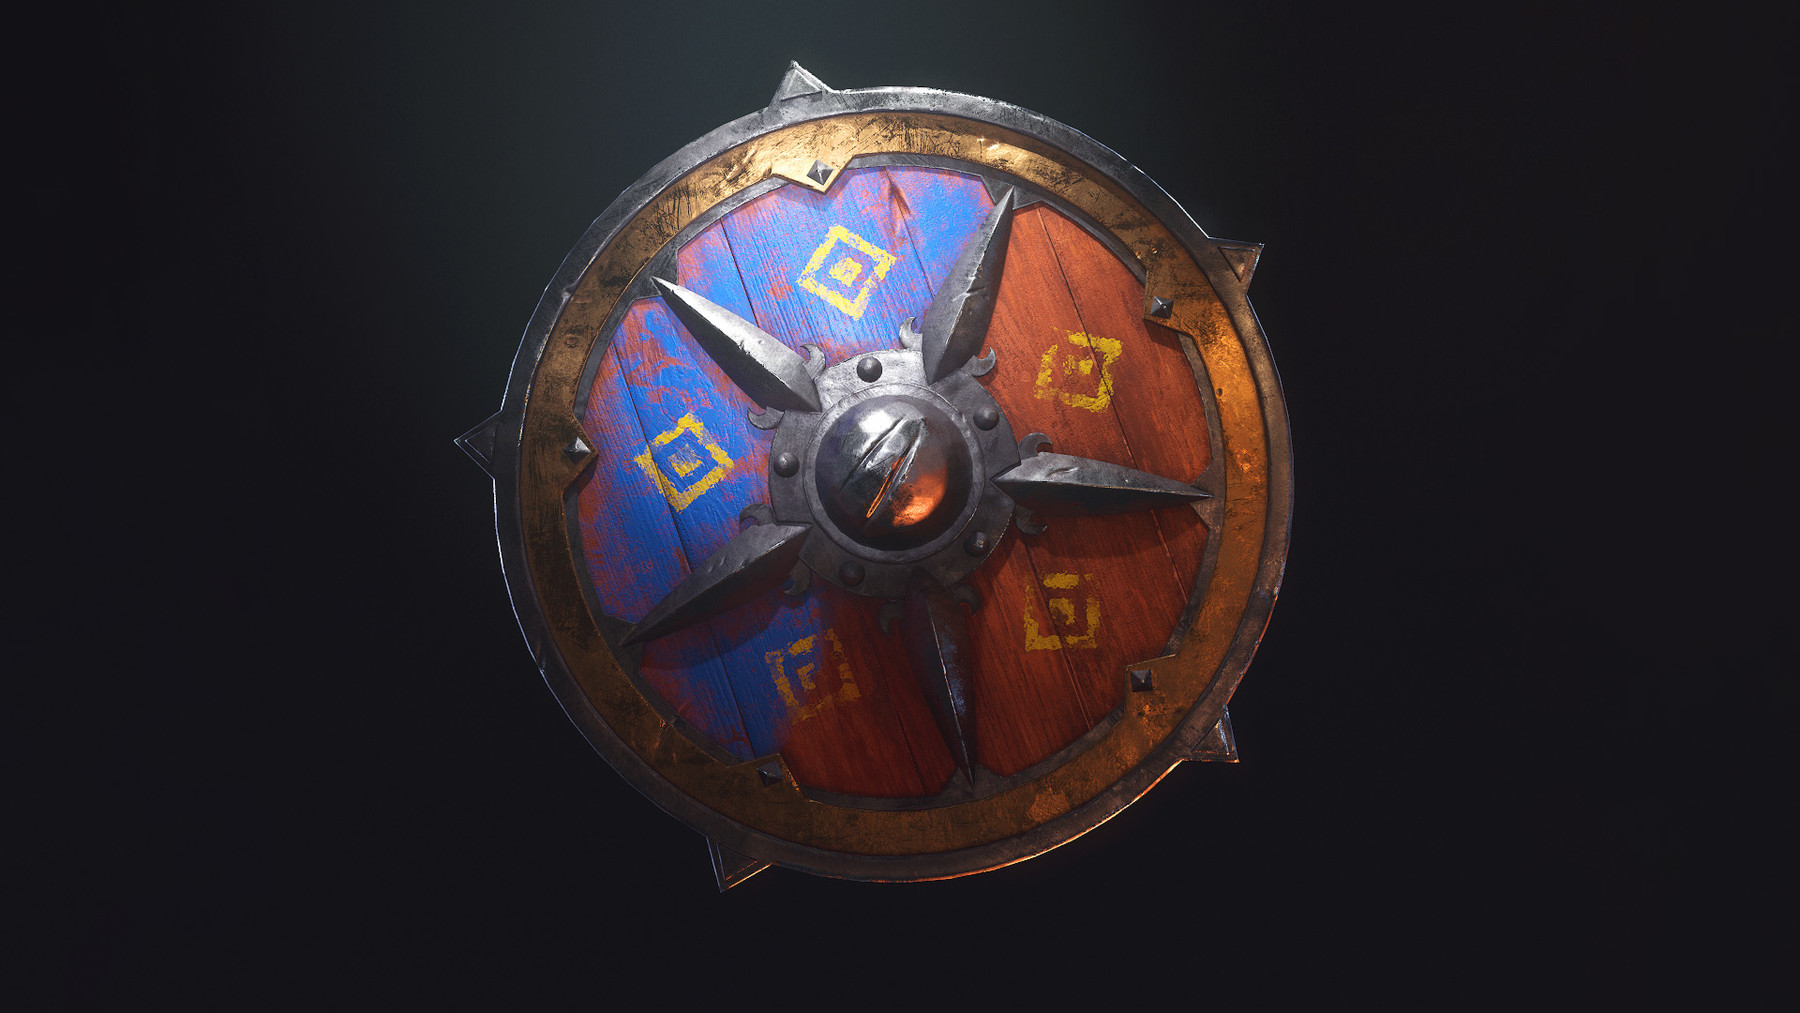
Welcome to my tutorial showing the full pipeline of creating a 3D asset for video games. We’re going to start from scratch with design and take it all the way to final real-time render using Marmoset Toolbag.
Some knowledge of the software listed is required, as I won’t be covering the basics of navigation, for example, but if you know your way around it a little, it should be enough. This tutorial is aimed at beginner to intermediate level artists, or just someone looking for another way to approach asset creation and add a few new tricks to their workflow.
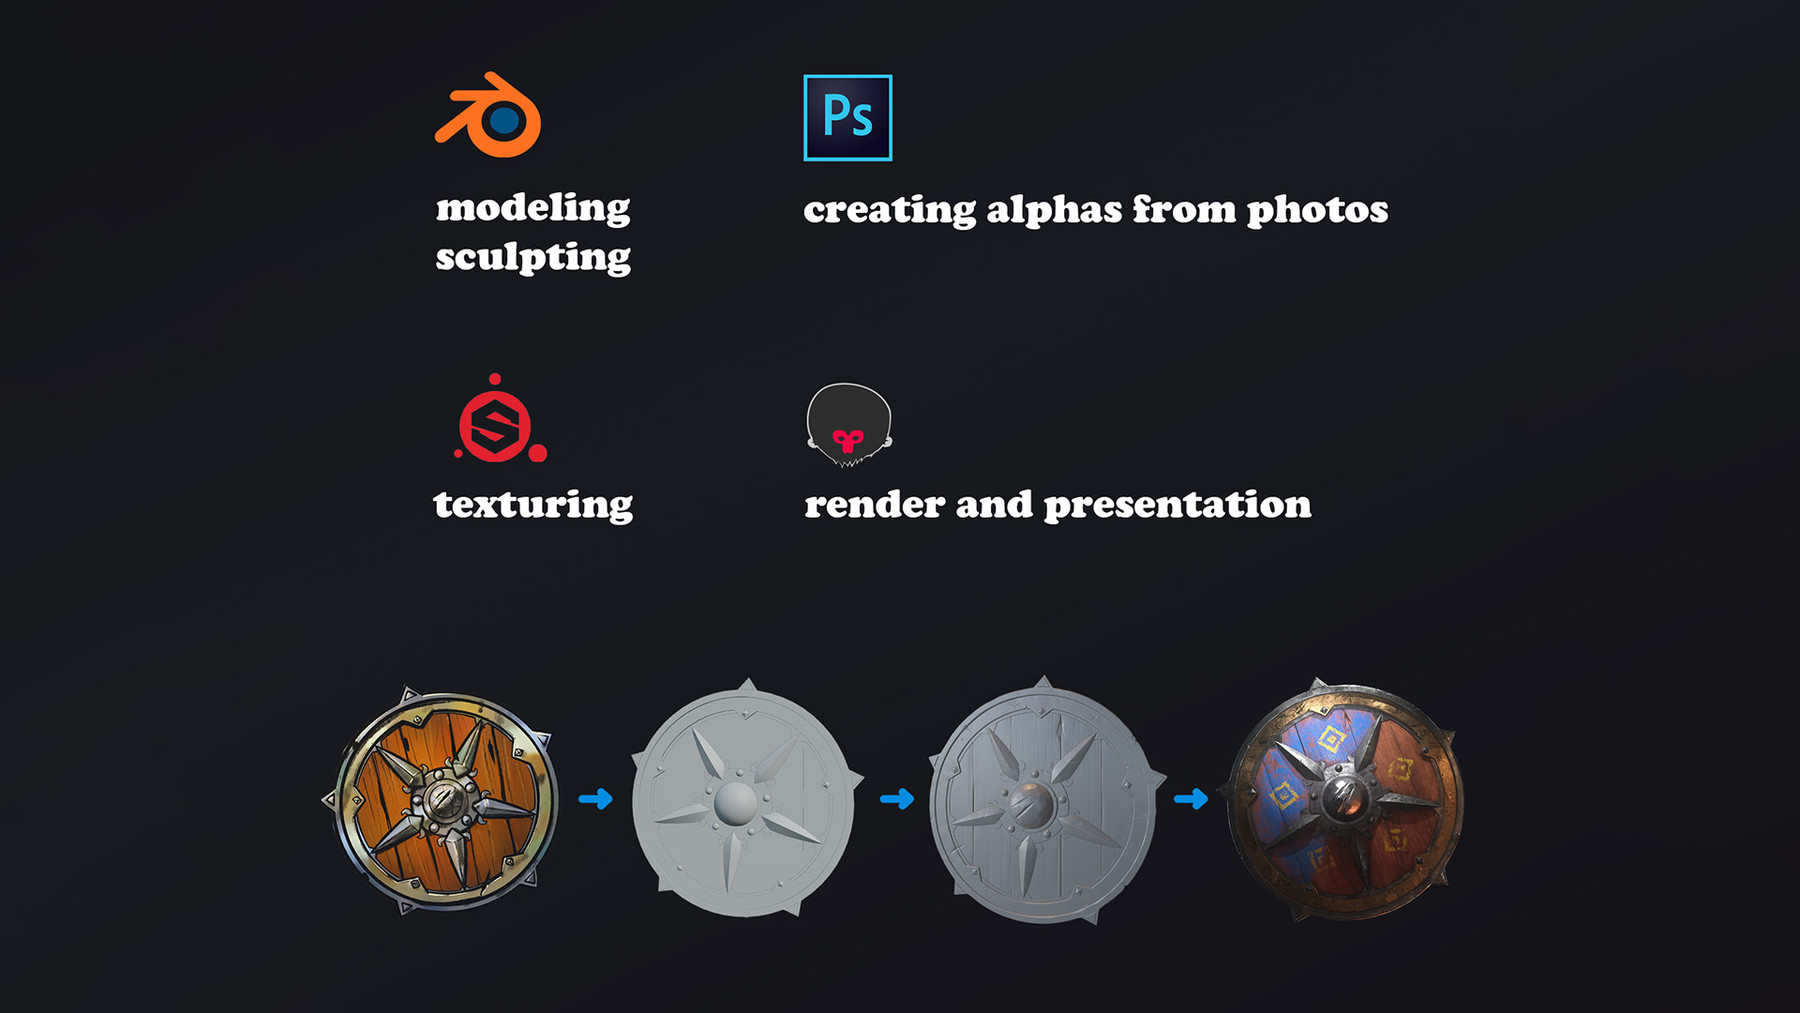
- We’re going to talk about low poly modeling, sculpting, UV unwrapping, all done in Blender. Focus will be on non destructive modeling, using modifiers to save time and adjust easily.
- After we export the models, we’ll bring them into Substance Painter for texturing, where we’ll create textures from nothing. We will bake the required maps and texture the asset piece by piece focusing on different materials and approaches for them.
- We’ll use Photoshop to quickly create some alphas to help out with texturing using photo reference.
- With texturing done, we’ll jump into Marmoset Toolbag, set up the shader, create lighting and capture the final image.
- Bonus chapter about some compositing tips and tricks in Photoshop.
A bit more than 2h30min of fully narrated video content.
It’s taken a lot of work to create this, I hope you enjoy and learn something new!
All the best,
Tautvydas
Release Notes
Added two short chapters "002b_modeling_extra" and "003b_sculpt_prep_extra" to explain a few bits that were skipped in the original tutorial. This is to help people that were getting lost in two specific parts of the tutorial. It was brought to my attention a couple of times so I felt it necessary to include these.
Part 002b addresses a skip that happens in 002 modeling part around minute 7.
Part 003b addresses a step that wasn't shown in 003 sculpt prep.
CATEGORIES
Special Offer! Get 30% off when you buy 2 products. Get 40% off when you buy 3 or more products. Applies to all products from this seller only from USD $1.00 to USD $100.00
Standard Use License
USD $4.00
License: Standard License
Stock Assets
For personal use and one commercial project (up to 2,000 sales or 20,000 views).
TutorialsOne copy to be used by a single user.
Installable ToolsOne installation by a single user.
Learn MoreFiles (14)
https://artstn.co/m/1m9w
Copied
Ratings & Reviews
Sort by:LikesDate
Reviews (6)
 MT Shelley
00Report| Release v.2.0 | Standard Use License | over 3 years ago
Very useful with good, clear and understandable tutorial. Many thanks.
 Patryk K.
10Report| Release v.2.0 | Standard Use License | over 3 years ago
Unfortunately, there are a lot of understatements in the course, some things have to be guessed.
 Henrik
10Report| Release v.2.0 | Standard Use License | almost 4 years ago
Excellent overview of his process, with the added details where they are necessary. Everything is well explained in terms of how and most importantly also in terms of "why" he chooses the approach he does.
Great work and thank you very much!
over 3 years ago
Thank you! What a treat it is to hear this. Very happy you found it so informative!
 Victor Deno
10Report| Release v.2.0 | Standard Use License | almost 5 years ago
Just finished the course and was really happy with how much I've learnt and how easy it was to follow till the end! Keep up the amazing work!! Very worth it
 Ganesh Rathakrishnan
10Report| Release v.2.0 | Standard Use License | over 5 years ago
Nice Game Asset workflow.
 Jesper Eistrom
10Report| Release v.2.0 | Standard Use License | over 5 years ago
Very good tutorial.
Easy to follow
Filter by Rating
More by Tautvydas Kazlauskas



Add a tip for Tautvydas Kazlauskas
Tips are appreciated, but optional!