Sign Up with Epic Games
UV Mapping Bootcamp Master Unwrapping & Texturing in Blender

in Tutorials




UV Mapping Bootcamp: Master Unwrapping & Texturing in Blender
🎯 Bad UVs wreck great artwork—master clean, distortion-free unwrapping today!
I am Luke from 3D Tudor, and UV Mapping Bootcamp distills fifteen years of texturing pain points into one focused Blender workshop. We will turn stretched checkerboards into crisp atlases, tame texel density, and build trimsheet-ready layouts that export cleanly to Substance, Unreal, and Unity.
⚠️ Stretched textures, popping seams, and checkerboards that slide around like budget origami can make even a gorgeous model look amateur in seconds. I have fought those same misbehaving UVs myself, so let us sort them out together and give your textures the respect they deserve!
✏️ What You Will Learn
The real purpose of UVs and how Blender’s editor organises them
Smart UV Project vs. seam-driven unwrapping—choose the right tool for the job
Cube, cylinder, and sphere projections (and how to combine them)
Troubleshooting UV issues: flipped normals, hidden overlaps, mip-map bleed, poor packing
Consistent texel density across modular scenes, props, and characters
Trimsheet workflows for bolts, vents, and sci-fi panels
Texture-atlas strategy: pack more detail into fewer materials
Human and creature unwrapping—ears, mouth bags, fingers, and toes without stretch
Vertex-paint blending, AO masks, and curvature maps that respect your UVs
Stage 1 – UV Concepts & Basics
We start at the beginning—what UVs are, how they work, and why they matter. Learn to flatten 3D into 2D space, navigate Blender’s UV Editor, and understand checker maps, UV axes, and distortion.
Stage 2 – Auto Unwrapping
Blender’s Smart UV Project tool explained: when to use it, where it shines, and where it fails. Great for fast unwraps—less so for painterly detail.
Stage 3 – Projection Methods
Master cube, cylinder, and sphere projections. We test each on various meshes and combine them for optimal results.
Stage 4 – UV Troubleshooting
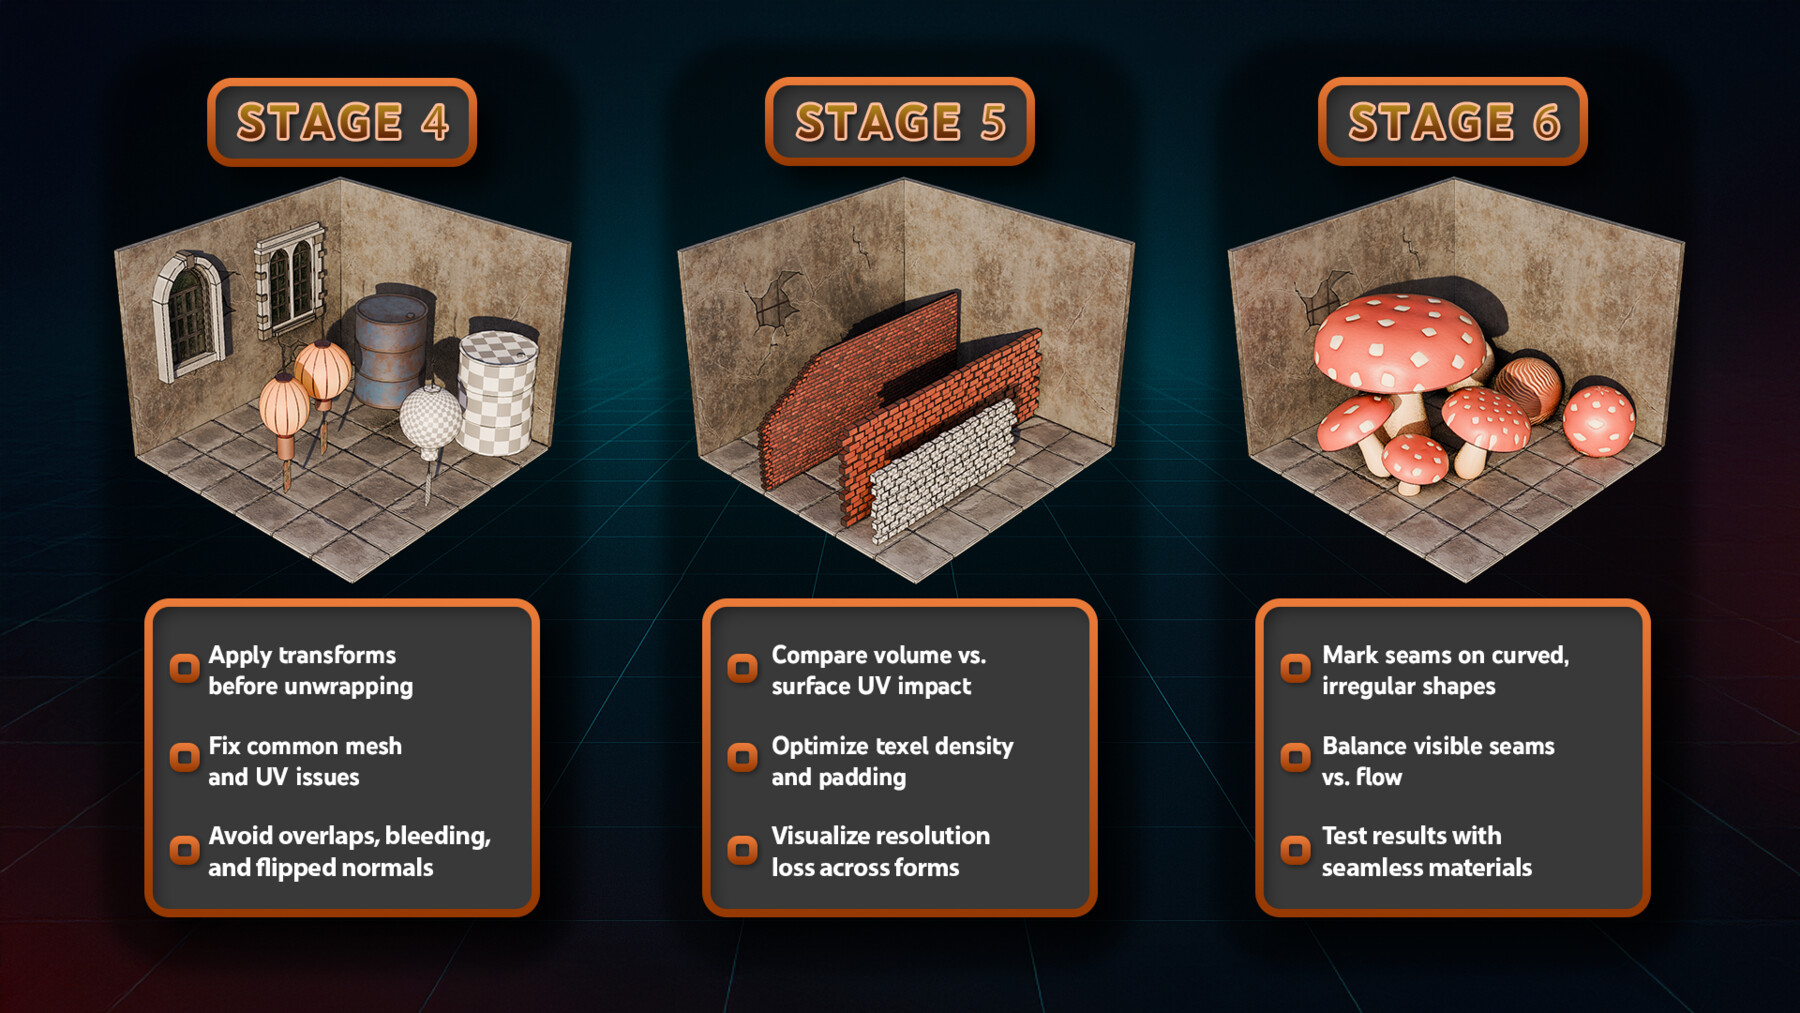
Fix flipped normals, mipmap bleed, and overlapping islands. Learn padding and distortion visualization across Blender and Substance.
Stage 5 – Volume vs. Surface Density
Texel density, padding, and UV island scaling—learn how to optimise every pixel of your texture space.
Stage 6 – Organic Unwrapping
Curved shapes like mushrooms and rocks get their due. Mark seams, balance stretch, and unwrap like a pro.
Stage 7 – Custom Shape Strategy
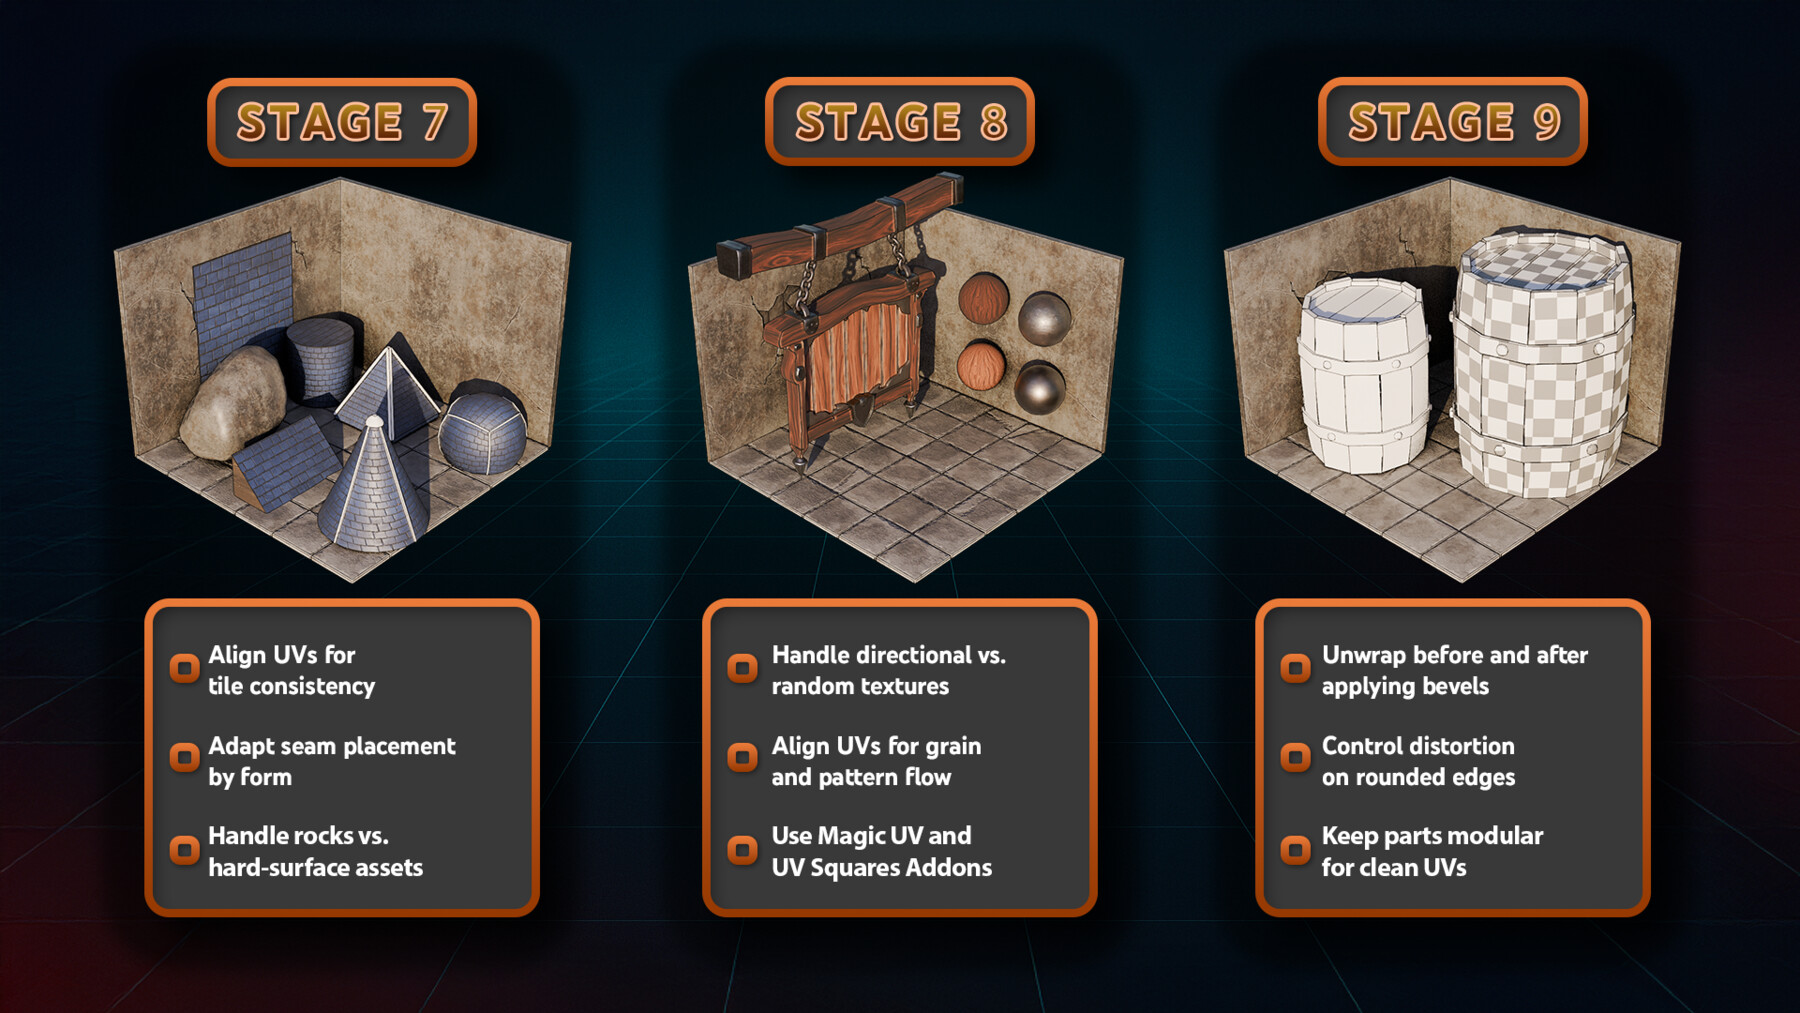
Cones, rooftops, and pyramids need special alignment. This stage is all about directional consistency in your unwraps.
Stage 8 – Directional Noise & Flow
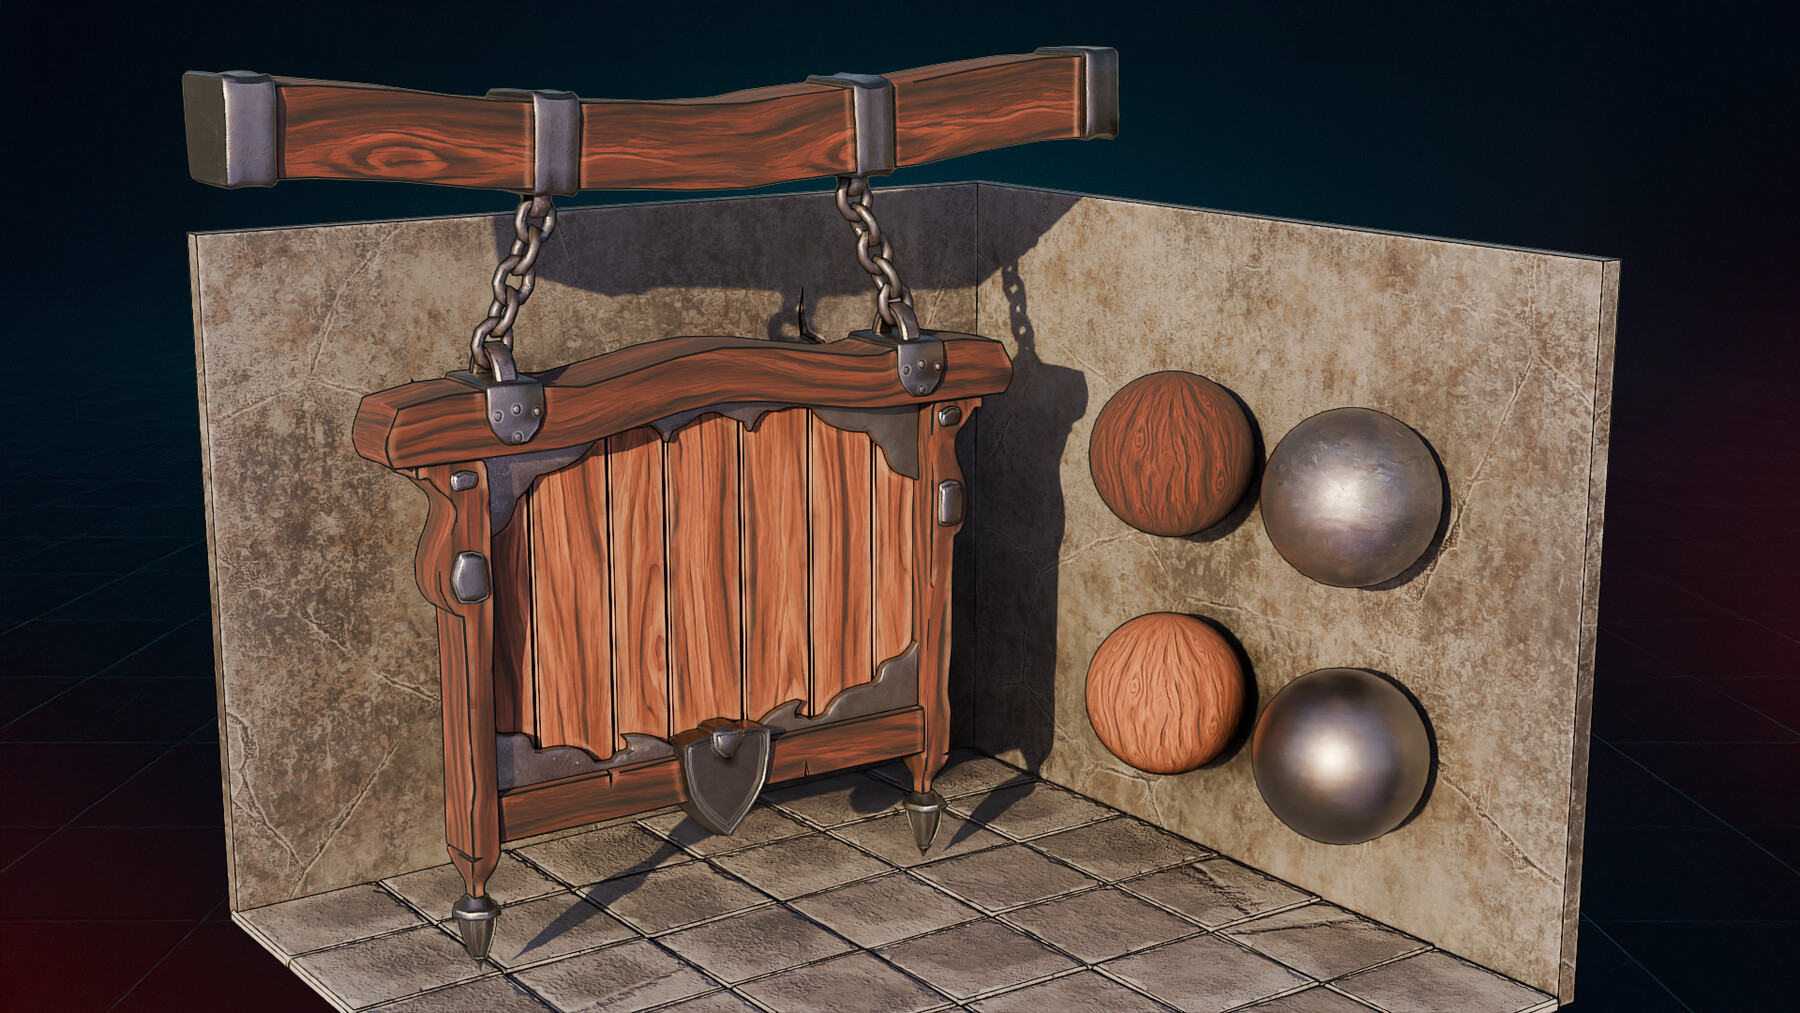
Unwrap stylised signs and wooden planks with flow in mind. Use Magic UV and UV Squares add-ons for precision.
Stage 9 – Beveled Mesh Workflow
Bevels are tricky! Learn how to plan UVs before and after modifiers for stylised barrels and more.
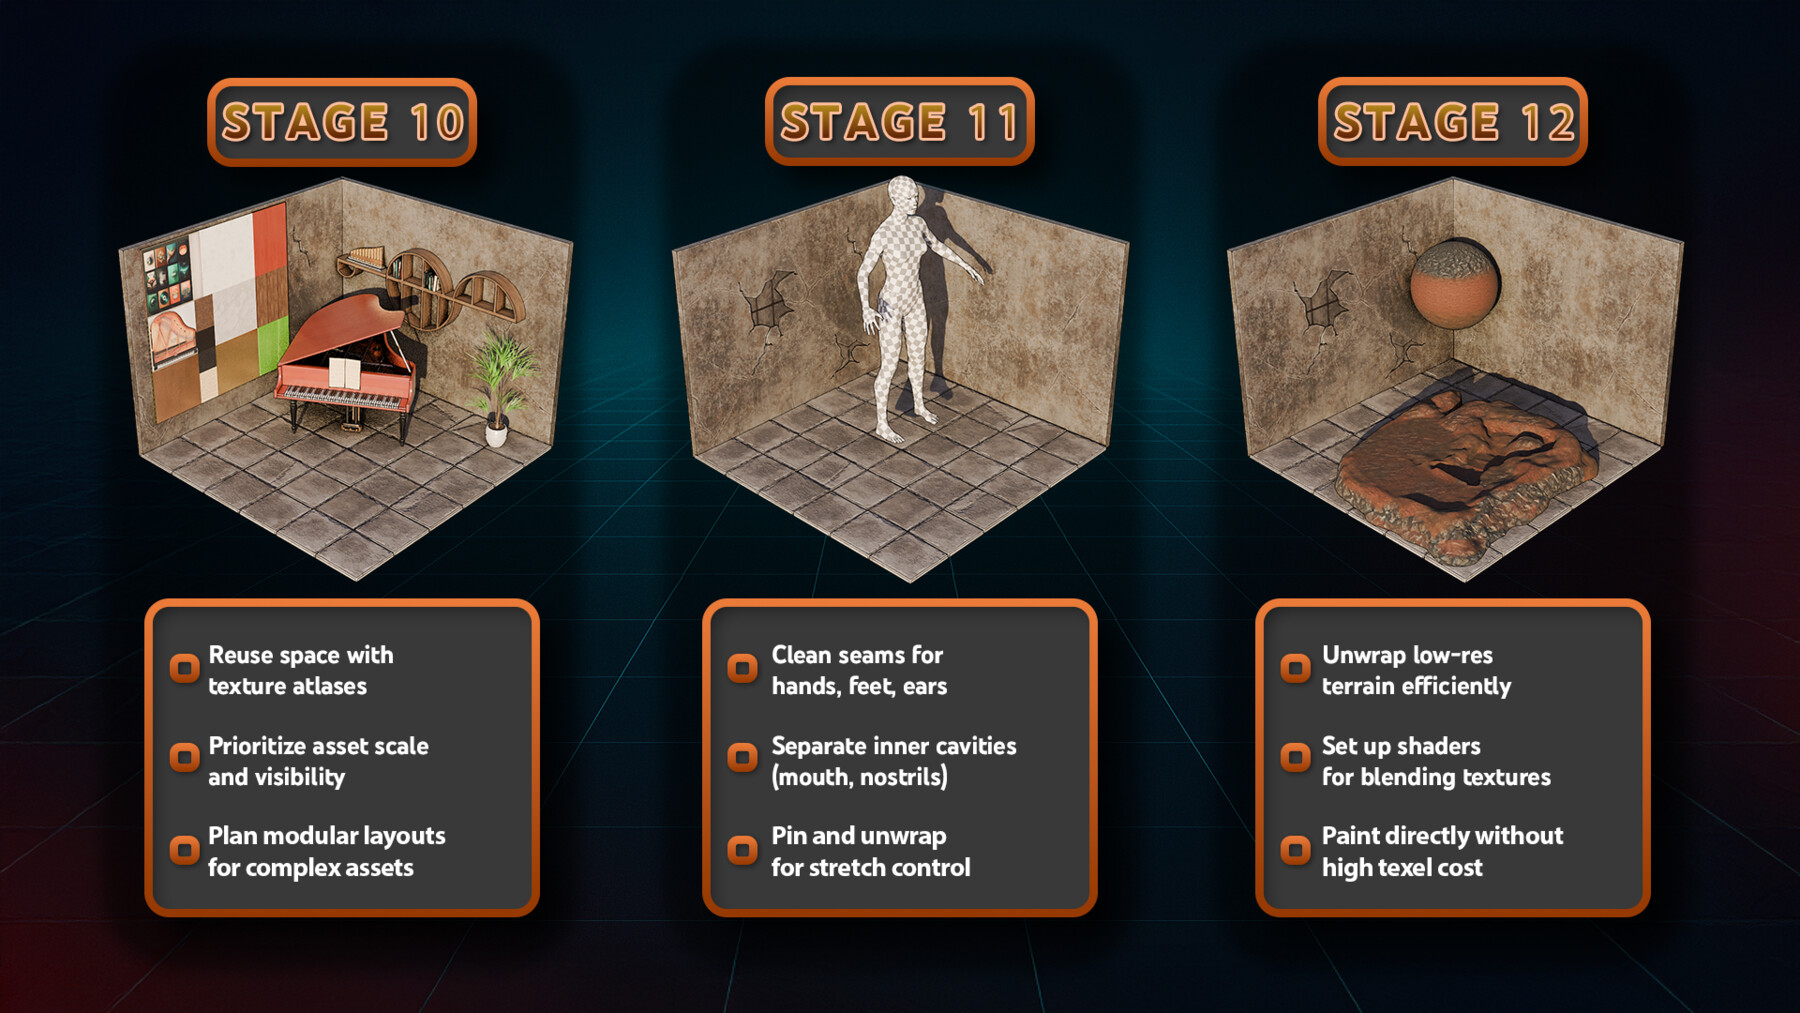
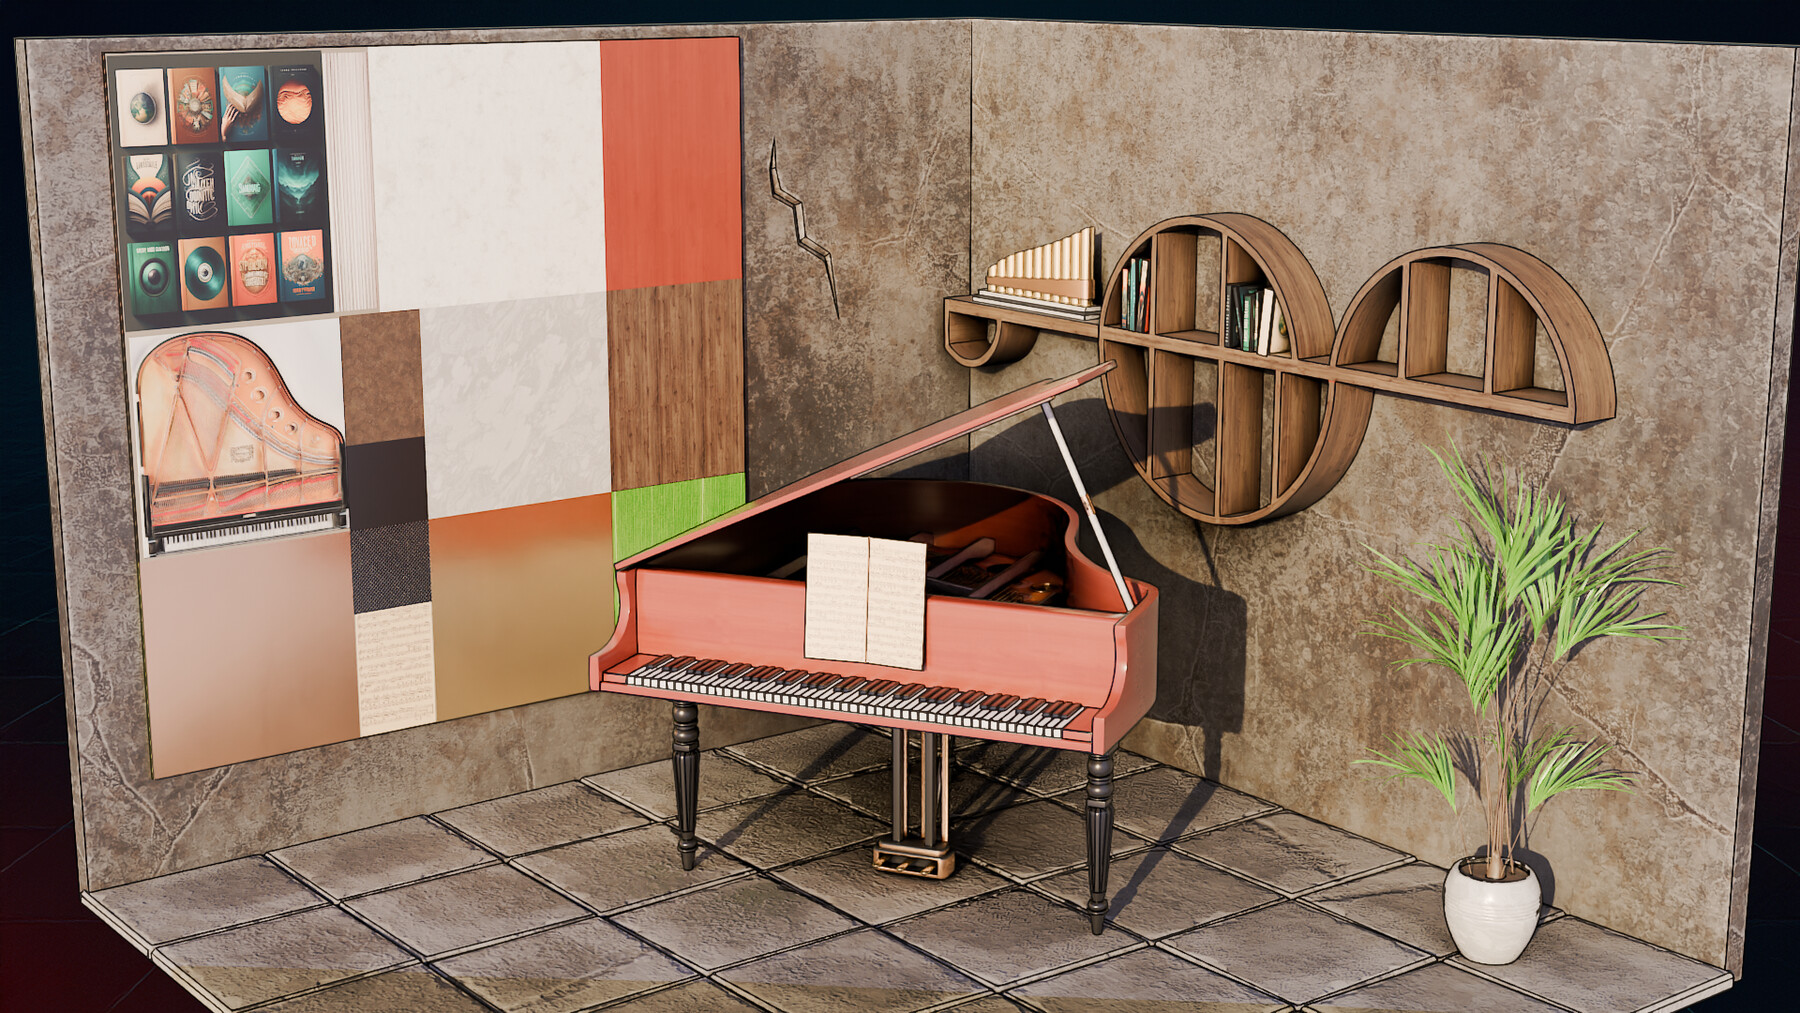
Stage 10 – 0–1 UV Space & Atlases
We unwrap modular props into one UV layout. Learn atlas scaling, layout alignment, and modular reuse.
Stage 11 – Human Unwrapping
Tackle character details—ears, feet, mouth bags. Keep your seams smart and stretching minimal.
Stage 12 – Vertex Painting Prep
Learn terrain unwraps and shader blending that gives painterly control without killing texel density.
Stage 13 – Procedural Masks & Decals
AO, curvature, and gradient masks blended with decals—essential for stylised props and breaking repetition.
Stage 14 – Trimsheet Techniques
We end strong with trimsheets. Master alignment, mirroring, and reuse for maximum visual punch with minimal texture waste.
Expect a zero-fluff blueprint that starts with a cube, scales up to full characters, and ends with a production-ready asset. Every pitfall is shown, fixed, and summarised—no guesswork, no fluff.
By the end of this journey, you will spend your time creating art, not hunting stretched pixels.
Until next time, happy modelling everyone!
Luke – 3D Tudor
CATEGORIES
Special Offer! Get 20% off when you buy 2 products. Get 35% off when you buy 3 or more products. Applies to all products from this seller only from USD $1.00 to USD $100.00
Standard Use License
USD $24.99
License: Standard License
Stock Assets
For personal use and one commercial project (up to 2,000 sales or 20,000 views).
TutorialsOne copy to be used by a single user.
Installable ToolsOne installation by a single user.
Learn MoreFiles (8)
https://artstn.co/m/pRqk6
Copied
More by 3D Tudor

Add a tip for 3D Tudor
Tips are appreciated, but optional!