Sign Up with Epic Games
Free guide to create quality Photo Reference Packs

in Tutorials
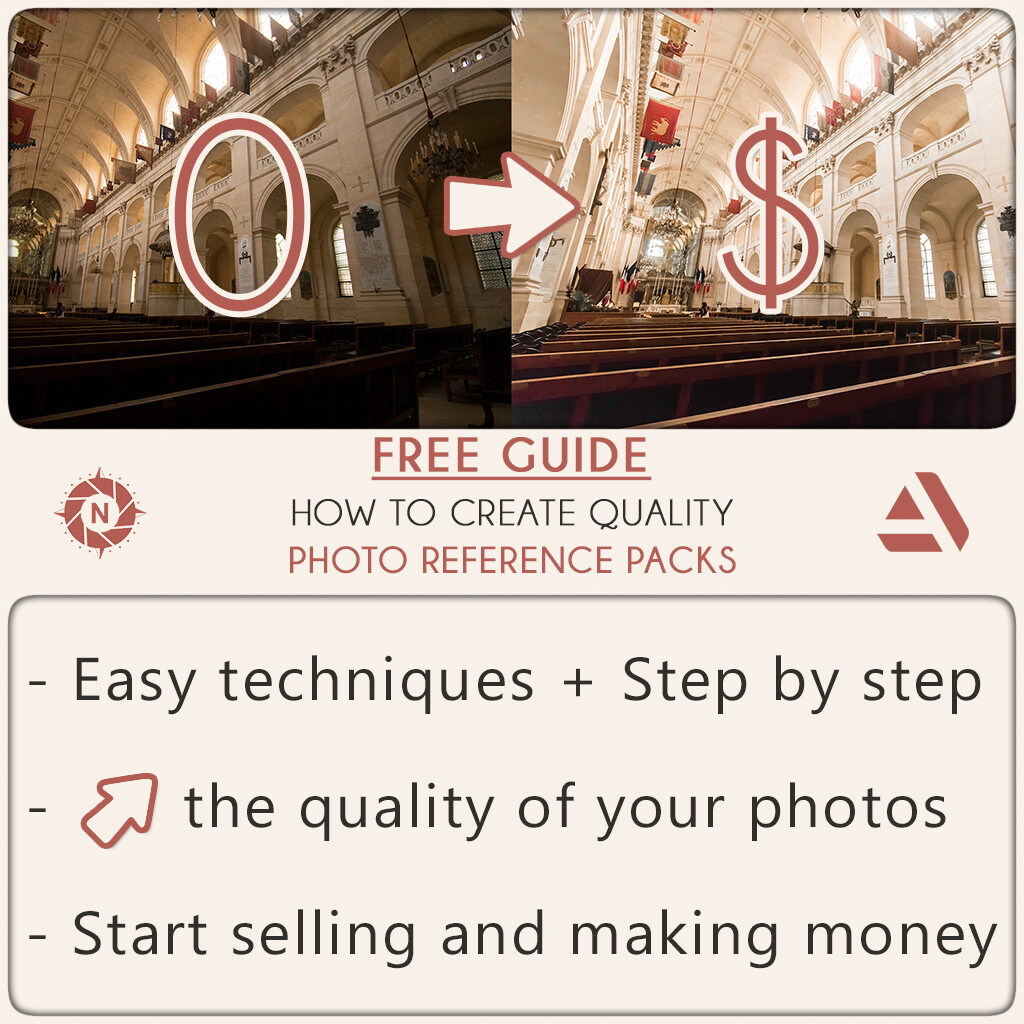
In this tutorial I explain step by step some easy techniques to create quality photo reference packs, my workflows to save time and I give you some marketing tips.
Thankfully you will learn that you don’t need to be a professional photographer to make and sell good photos. You just need to know a few basic rules about art and photography which you can learn and apply today.
This guide compiles many lessons and tips I would have loved to know when I started and I have written it for:
Photo reference pack creators who want to enhance the quality of their products.
People who want to start doing that but don’t know how.
And people who want to learn the basics of Photography.
This is just my experience and not a divine rule to be successful in creating and selling photo packs.
However, I have been on the Artstation marketplace since day one and I am able to make a living doing this activity alone. So I should be able to teach you a thing or two.
Have a good read and I hope it will help you create better content :)
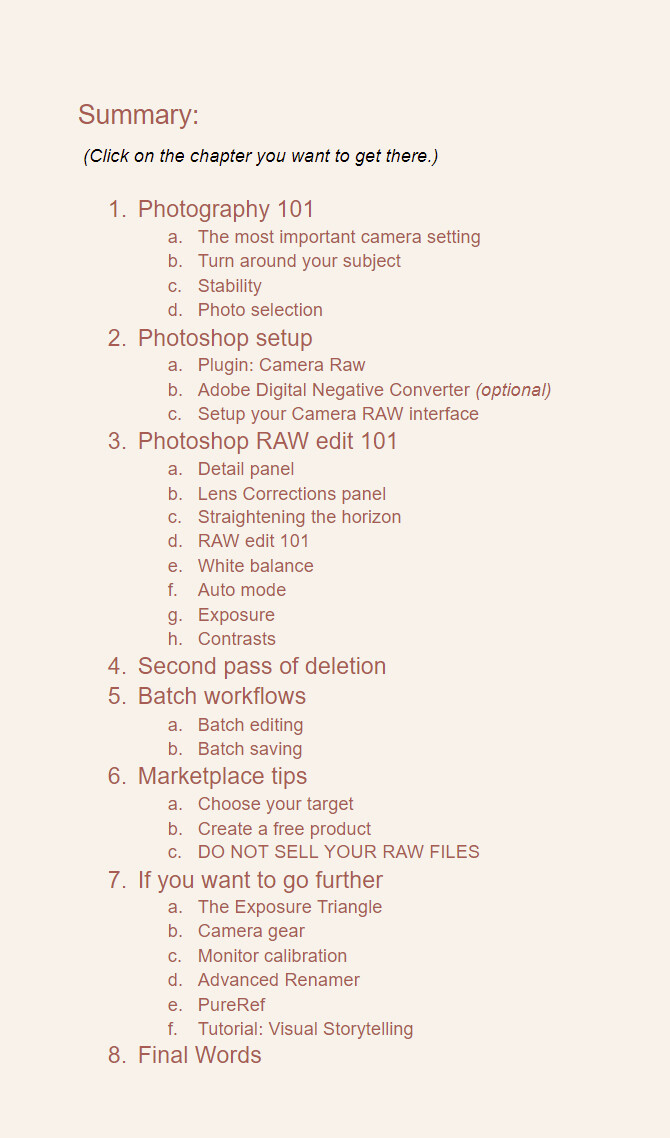
Summary:
1. Photography 101
- The most important camera setting
- Turn around your subject
- Stability
- Photo selection
2. Photoshop setup
- Plugin: Camera Raw
- Adobe Digital Negative Converter (optional)
- Setup your Camera RAW interface
3. Photoshop RAW edit 101
- Detail panel
- Lens Corrections panel
- Straightening the horizon
- RAW edit 101
- White balance
- Auto mode
- Exposure
- Contrasts
4. Second pass of deletion
5. Batch workflows
- Batch editing
- Batch saving
6. Marketplace tips
- Choose your target
- Create a free product
- DO NOT SELL YOUR RAW FILES
7. If you want to go further
- The Exposure Triangle
- Camera gear
- Monitor calibration
- Advanced Renamer
- PureRef
- Tutorial: Visual Storytelling
8. Final Words
Details:
- 1 PDF file
- 44 pages
Follow my journey on Instagram: @nomadphotoreference
{ Save time to create }
Release Notes
Adding a second License.
CATEGORIES
Special Offer! Get 10% off when you buy 2 products. Get 20% off when you buy 3 or more products. Applies to all products from this seller only from USD $5.00 to USD $5,000.00
Free
Free
License: Standard License
Stock Assets
For personal use and one commercial project (up to 2,000 sales or 20,000 views).
TutorialsOne copy to be used by a single user.
Installable ToolsOne installation by a single user.
Learn MoreFiles (1)
Support my work
USD $5.00
License: Standard License
Stock Assets
For personal use and one commercial project (up to 2,000 sales or 20,000 views).
TutorialsOne copy to be used by a single user.
Installable ToolsOne installation by a single user.
Learn MoreFiles (1)
https://artstn.co/m/VXO7d
Copied
More by Nomad Photo Reference




Add a tip for Nomad Photo Reference
Tips are appreciated, but optional!